

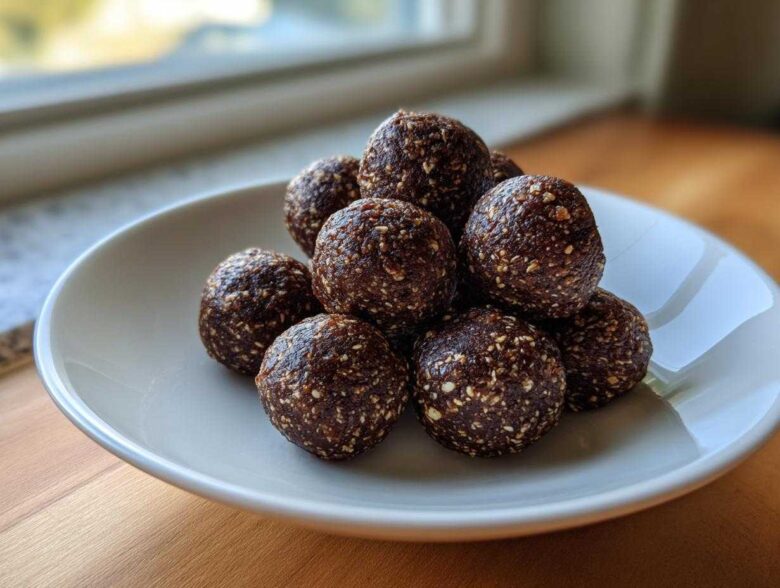
You know those weeks? The ones where you plan to eat clean and fuel properly, but suddenly it’s 3 PM, you’re starving, and all you have time for is a handful of chips? Yeah, I’ve been there, trust me! That’s why I perfected these Ultimate No-Bake Chocolate Peanut Butter Protein Balls. They are my absolute lifesaver for meal prepping. You don’t even have to turn on the oven—it’s all mixing and rolling, which takes maybe ten minutes flat. These little powerhouses pack a serious protein punch and they satisfy that chocolate craving instantly. Honestly, if you need quick, healthy energy bites that actually taste like a treat, our go-to recipe for **protein balls** is what you’ve been waiting for! For more of my everyday kitchen adventures and tips, check out my latest thoughts over at my main blog page.
Why Our No Bake Protein Balls Are The Best Healthy Protein Snacks
Listen, the best thing about these little bites is how ridiculously fast they come together. You’re looking at about ten minutes of active time, and that’s being generous! No oven means no heating up the house in summer, and truthfully, no chance of burning anything—win-win!
They are perfect for throwing into a container after a workout. They travel beautifully, too; just tuck them into a plastic baggie, and you have instant fuel for hikes or busy afternoons at work. That’s why I call these the ultimate **healthy protein snacks**.
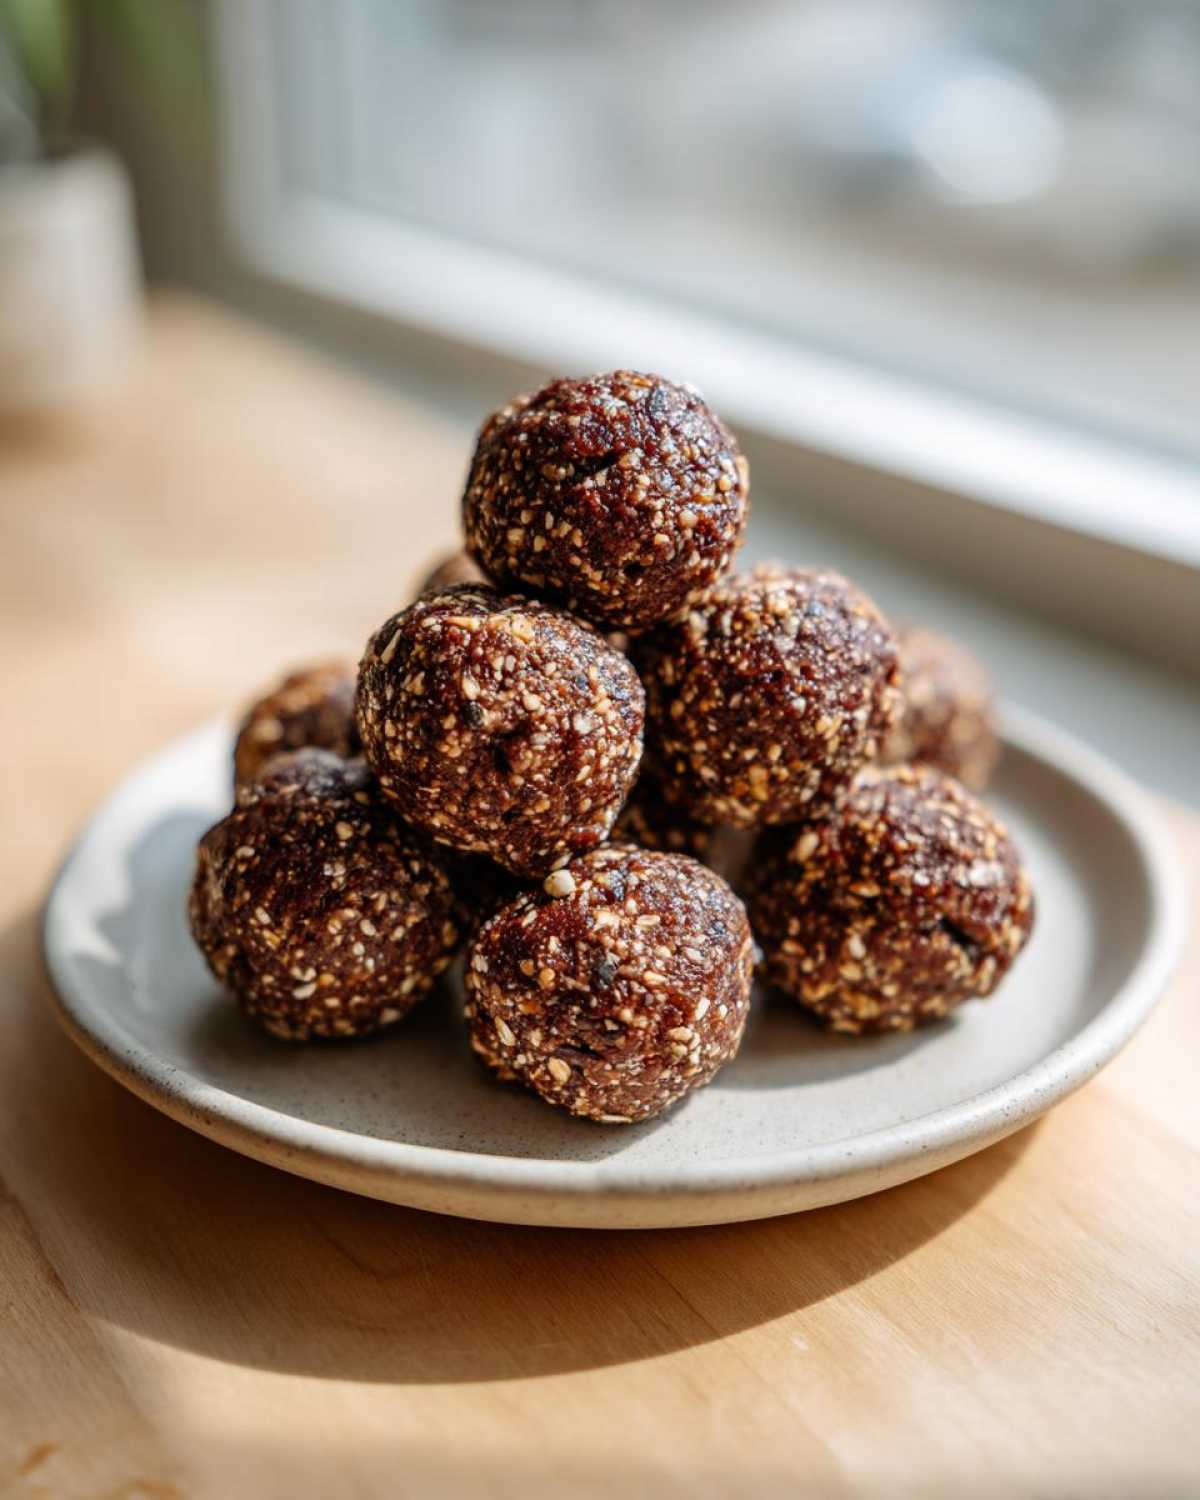
- Zero Baking: Just mix, roll, and chill. It doesn’t get much simpler than that for **quick snack recipes**!
- High Protein Content: Packed with 8 grams per ball from the powder, keeping you full for hours.
- Perfect Portability: Denser than a cookie, these little guys hold their shape beautifully.
If you’re looking for other grab-and-go goodness, you have to check out my recipe for easy no-bake 5-ingredient protein bars next time you’re in a rush!
Essential Ingredients for Perfect Peanut Butter Protein Balls
When you’re dealing with a no-bake recipe like this, the quality of your ingredients really shines through. You only have seven things going into these, so make sure they are good ones! The base of these **peanut butter protein balls** is exactly what you’d expect: rolled oats and creamy peanut butter. Don’t skimp on the peanut butter quality here; a natural, runny style usually works best for binding everything together.
Here is the precise lineup you’ll need to make exactly 16 of these **oatmeal protein balls**:
- 1 cup rolled oats (The foundation! Don’t use instant, we need the chew.)
- 1/2 cup peanut butter (Creamy is easiest, but crunchy works if you like texture!)
- 1/2 cup protein powder (I use vanilla, but chocolate is amazing too.)
- 1/4 cup ground flaxseed or chia seeds (This is our binder and fiber booster!)
- 1/4 cup mini chocolate chips (Only if you want that glorious chocolate swirl.)
- 2 tablespoons honey or maple syrup (Our sticky sweetness agent.)
- 2 tablespoons almond milk or water (Just enough liquid to bring it all together.)
Trust me, making sure your peanut butter is easily stirrable makes the whole process smoother. If you want to see what else I make using quality peanut butter, you have to try my famous soft and chewy peanut butter cup cookies!
Step-by-Step Guide to Making No Bake Protein Balls
Okay, this is the easiest part, seriously. There’s no heavy mixing bowl wrestling or worrying about over-beating eggs. We are just stirring things together until they get friendly. We’re making **no bake energy balls**, so grab a sturdy medium-sized bowl—that’s all the equipment we need for this process! If you’re curious about flavor twists, you might want to check out my post on ginger turmeric energy balls for a spicy change.
Follow these steps exactly, and you’ll have perfect, sturdy little fuel bombs every single time. It’s all about the sequence!
Combining Dry Ingredients for Your Protein Balls Recipe
First things first: let’s get the foundation laid out. Pour your rolled oats, your protein powder (whichever flavor you chose), and your ground flaxseed or chia seeds right into that bowl. Give it a quick whisk or stir with a fork. We just want these dry elements evenly distributed so the peanut butter doesn’t clump up later. It should look like a nice, uniform, slightly dusty mix.
Mixing Wet Ingredients and Forming the Protein Balls Dough
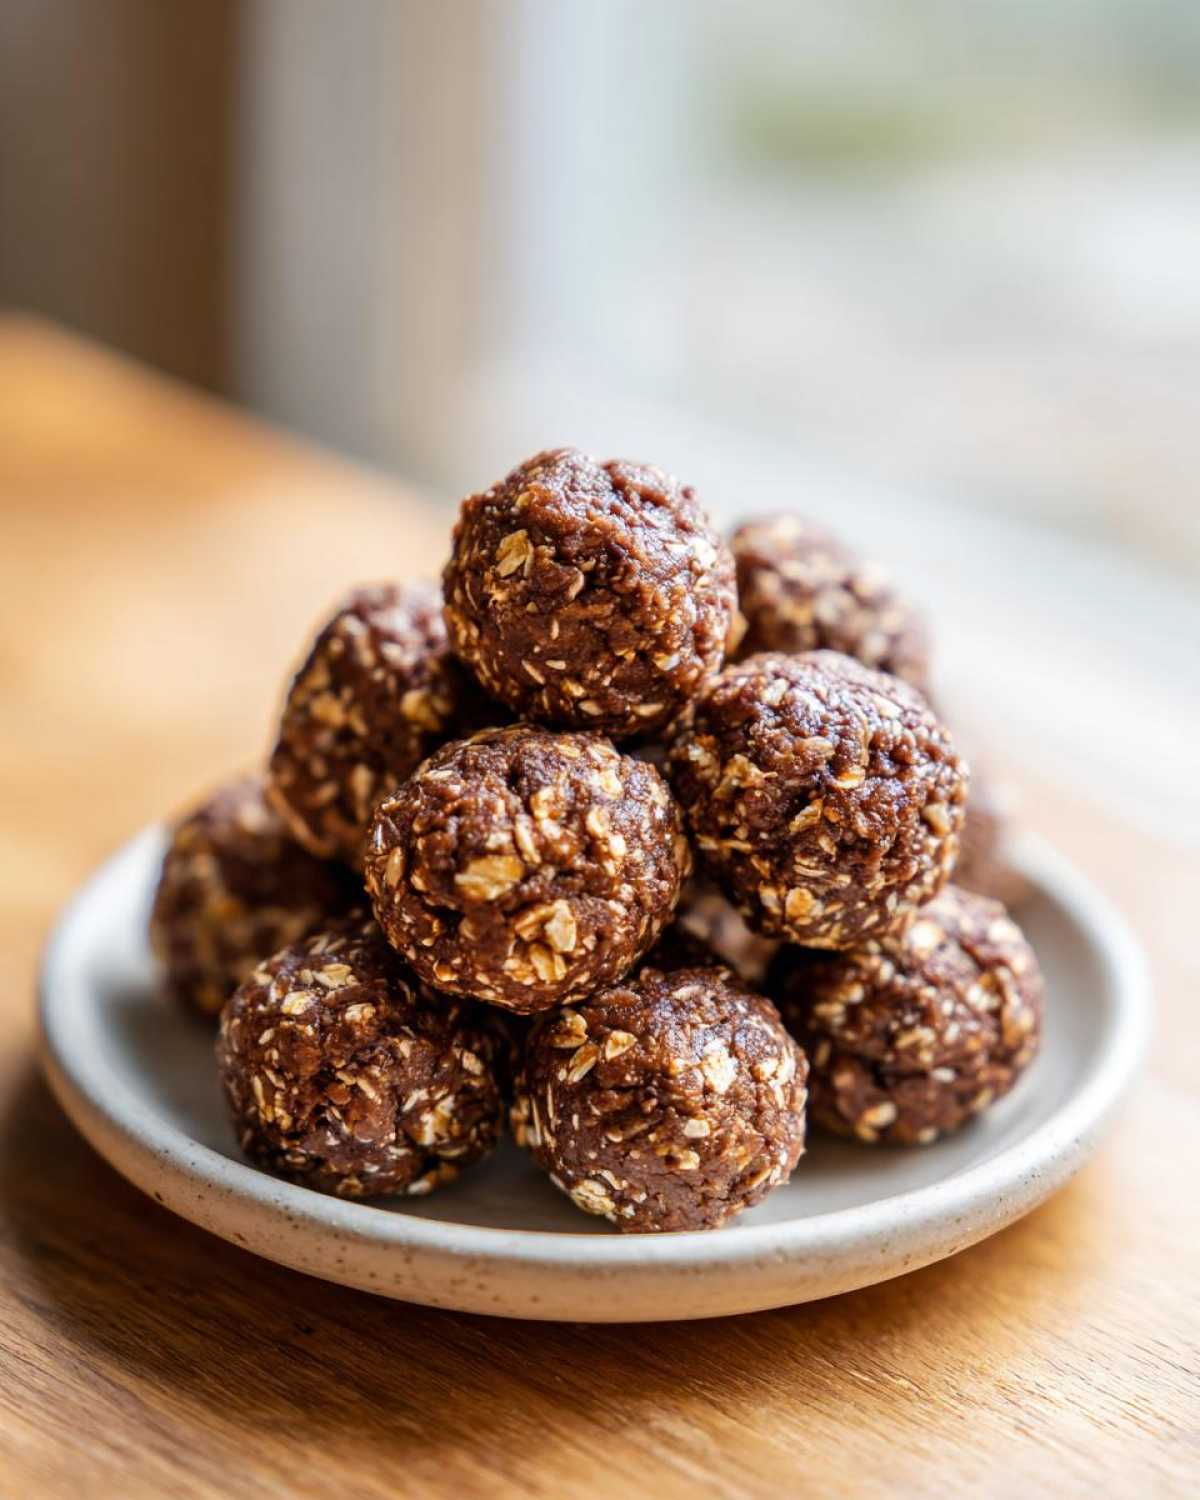
Now for the sticky stuff! Add your creamy peanut butter, your honey or maple syrup, and that crucial splash of almond milk right over the dry mix. Start stirring! It will look crumbly at first—don’t panic. Keep mixing aggressively until it starts to come together into a thick, cohesive dough. This is the critical spot where you might need to adjust. Seriously, if it’s too dry and won’t stick (usually because of your protein powder brand), add liquid one teaspoon at a time. If it’s too wet and sloppy, add a tablespoon more oats. Once it’s uniform, fold in those mini chocolate chips if you’re using them. You want it thick enough to handle!
Rolling and Chilling Your Easy Energy Bites
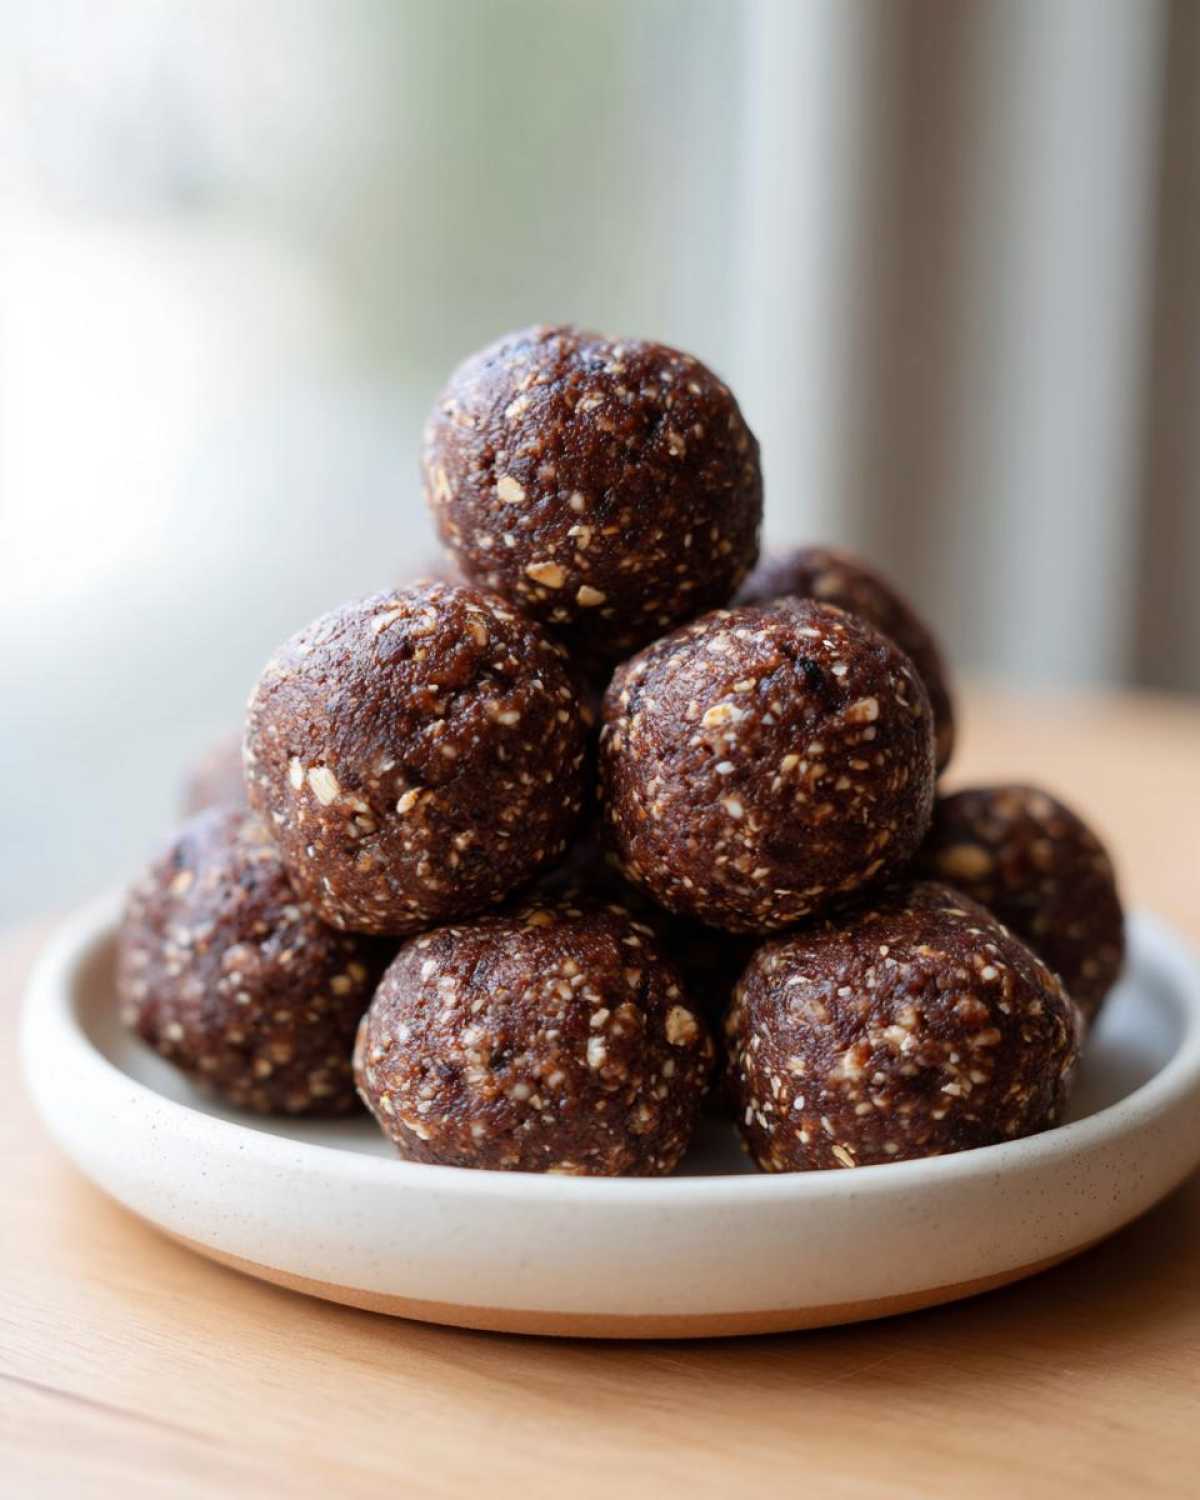
Once that dough is ready, get your hands in there! Scoop out about a tablespoon-sized amount and roll it firmly between your palms until you have a nice, smooth ball, about an inch wide. It’s satisfying work, and you want them uniform so they firm up evenly. Pop all your finished **easy energy bites** onto a parchment-lined plate or tray. Don’t skip the next step! Pop the whole tray into the fridge for at least 30 minutes. Chilling is non-negotiable; it helps them firm up so they don’t fall apart when you try to grab them later. For more fun, shape them differently, or try my recipe for other easy energy bites!
Ingredient Notes and Substitutions for Protein Balls
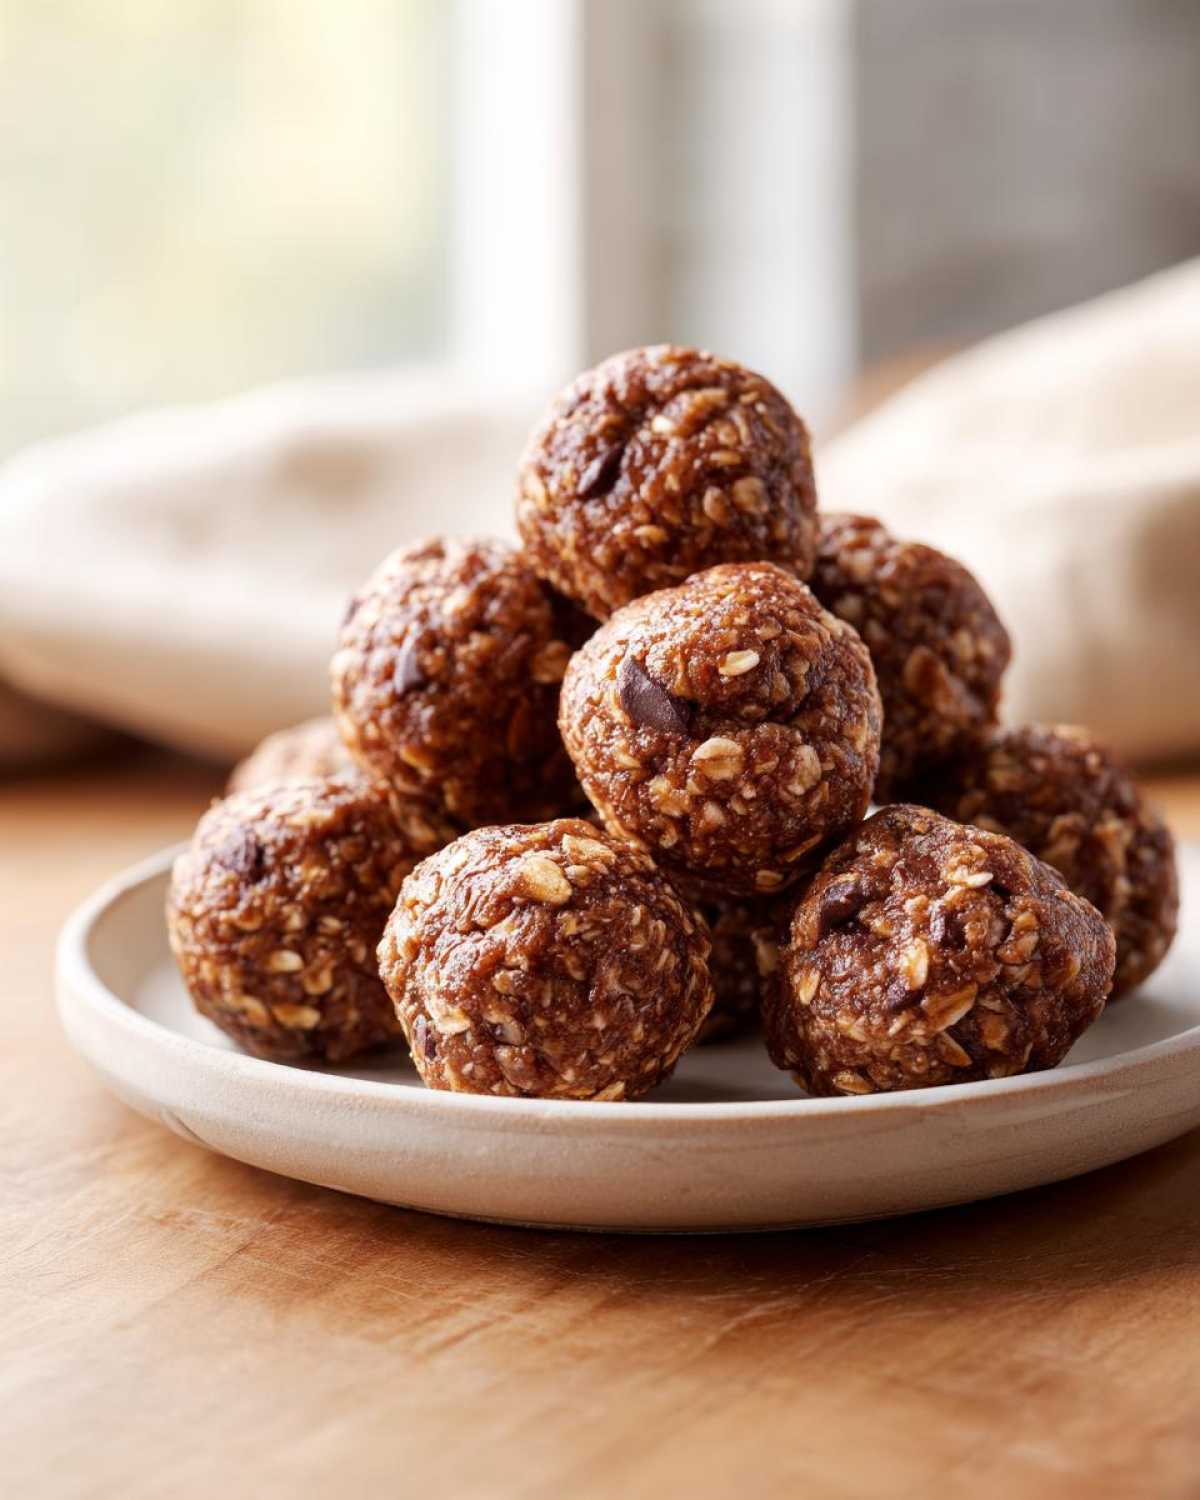
One of the best parts about these **no bake protein balls** is how forgiving they are! I know not everyone has peanut butter on hand, or maybe you’re trying to cut back on specific things. That’s totally fine. You can absolutely swap out the peanut butter for almond butter or cashew butter if you prefer a different nut flavor. Just know that different nut butters can absorb liquid differently, so you might need an extra tiny splash of liquid.
We want to keep these as **refined sugar free snacks** as possible, right? That’s why I always recommend pure maple syrup over anything else for sweetness. If you’re swapping liquids, using almond milk often yields a fantastic result for these **almond milk protein balls**, but water works perfectly fine too if you aren’t keeping almond milk in the fridge.
And speaking of sugar-free goodness, if you’re experimenting with sweeteners, make sure you take a look at my tricks for making sugar-free banana bread—the principles for binding are sort of similar when dealing with alternative sweeteners!
Tips for Success When Making Homemade Protein Boosters
Even though these are simple, a couple of insider things will elevate your **homemade protein boosters** from good to perfect. First, think about your protein powder! A whey isolate usually binds much tighter than a plant-based powder. If you use plant-based, you might need just a little more sticky sweetener, like honey, because plant powders can be thirsty.
My second big tip for keeping these looking bakery-perfect is to slightly wet your hands before rolling them out. A tiny bit of water stops that sticky dough from clinging stubbornly to your skin, meaning you get nice, smooth spheres instead of lumpy messes. It really helps if your kitchen humidity is low!
If you love adding protein to your desserts, you should definitely bookmark my recipe for protein cheesecake for when you want a baked treat!
How to Store and Prep Your Protein Balls for Meal Prep Snacks
This is honestly where these **protein balls** truly shine! They are absolutely built for busy weeks. You can mix these up on a Sunday afternoon, and suddenly, you have healthy fuel ready to go for the entire week. That’s the beauty of these reliable **meal prep snacks**.
Once they are firm from their chill time, pop them straight into an airtight container. I find that layering them between sheets of parchment paper works best so they don’t stick together in one giant lump—nobody wants smashed energy bites!
They’ll stay perfect and chilled in the refrigerator for a solid week. If you’re one of those super-planners, they freeze beautifully too! I usually lay them on a tray, freeze until solid, and then transfer them to a big freezer bag. You can grab a couple straight from the freezer whenever you need a quick boost. For more amazing freezer-friendly recipes, check out my tips on freezer breakfast burritos!
Variations to Customize Your High Protein Treats
I love that once you nail down the base recipe for these **high protein treats**, you can start having fun changing things up! Don’t feel married to just chocolate chips and vanilla powder. These little bites are super adaptable to whatever flavor mood you’re in.
Here are a couple of super simple tweaks that make a huge difference flavor-wise, without messing up that perfect sticky texture we worked so hard to achieve. Honestly, you can switch out up to half a cup of dry ingredients and still be totally fine!
For a deeper, richer flavor, try swapping out two tablespoons of the protein powder for unsweetened cocoa powder. Suddenly, you have a richer chocolate hit! Or, if you’re feeling cozy, add half a teaspoon of ground cinnamon to your dry mix along with the oats.
If you want more texture, try mixing in chopped walnuts or pecans instead of chocolate chips—great for crunch! If you want to lean into the healthy vibe even more, you can swap the flaxseed for hemp hearts. It makes them a bit softer, but the nutrition boost is worth it! If you enjoy chocolate variations, you HAVE to check out my recipe for moist and fudgy chocolate cake next weekend!
Serving Suggestions for Post Workout Fuel and Healthy Dessert Bites
These little treasures are so versatile! If you’re grabbing one right after a tough workout, they are the perfect little delivery system for refueling—especially if you pair one with a big glass of water or a cool protein shake. They hit that sweet/salty craving right on the spot.
But don’t just save them for the gym! When that 3 PM slump hits, I often grab two **healthy dessert bites** alongside my afternoon coffee. They feel like a substantial treat without any of the guilt. I always have a few chilling when I make my favorite energizing protein coffee smoothie. It’s the perfect combo for tackling the rest of the afternoon!
Frequently Asked Questions About Protein Balls
I get so many messages asking for clarification on a few points, so I gathered the most common questions about making the absolute best batch of **protein balls**! Don’t worry if you’re new to this—we cover everything from storage to ingredient swaps right here, just like in my post about vegan protein muffins!
Can I make these protein balls vegan or refined sugar free?
Yes, absolutely! To make them vegan, you just need to make sure you use a vegan protein powder (like pea or soy) and if you were using honey, swap it out for pure maple syrup or agave nectar. That keeps them totally refined sugar free, which is what most of us are aiming for with these amazing **high protein treats**!
How long do these no bake protein balls last in the fridge?
Because we aren’t baking these, they need to stay cool to keep that nice firm texture. Store them in an airtight container in the refrigerator. I find they are perfect for up to a week! Honestly, they rarely last that long in my house, but they definitely hold their shape well for seven full days.
What is the best protein powder to use for these protein balls recipe?
This one really depends on what you have! Whey protein usually binds the easiest and gives you a very tight ball structure. If you use a plant-based powder, just keep an eye on the consistency—as I mentioned before, they can be drier. If it looks dusty instead of like dough, just add a teaspoon more of almond milk until it comes together cleanly. Overall, stick to what you like the taste of!
PrintUltimate No-Bake Chocolate Peanut Butter Protein Balls

Make these simple, no-bake protein balls using peanut butter and oats for a quick, high-protein snack perfect for meal prepping or post-workout fuel.
- Prep Time: 10 min
- Cook Time: 0 min
- Total Time: 10 min
- Yield: 16 servings
- Category: Snack
- Method: No Bake
- Cuisine: American
- Diet: Vegetarian
Ingredients
- 1 cup rolled oats
- 1/2 cup peanut butter
- 1/2 cup protein powder (vanilla or chocolate)
- 1/4 cup ground flaxseed or chia seeds
- 1/4 cup mini chocolate chips (optional)
- 2 tablespoons honey or maple syrup
- 2 tablespoons almond milk (or water)
Instructions
- Combine the rolled oats, protein powder, and ground flaxseed in a medium bowl.
- Add the peanut butter, honey or maple syrup, and almond milk to the dry ingredients.
- Mix everything thoroughly until a thick, uniform dough forms. If the mixture is too dry, add a teaspoon more liquid; if too wet, add a teaspoon more oats.
- Stir in the mini chocolate chips, if using.
- Roll the mixture into small, bite-sized balls, about 1 inch in diameter.
- Place the finished balls on a plate or baking sheet lined with parchment paper.
- Refrigerate for at least 30 minutes to firm up before serving.
Notes
- Store these protein balls in an airtight container in the refrigerator for up to one week.
- For a refined sugar-free option, use pure maple syrup as the sweetener.
- You can substitute almond butter for peanut butter if you have a nut allergy or preference.
Nutrition
- Serving Size: 1 ball
- Calories: 120
- Sugar: 5
- Sodium: 75
- Fat: 6
- Saturated Fat: 1
- Unsaturated Fat: 5
- Trans Fat: 0
- Carbohydrates: 12
- Fiber: 2
- Protein: 8
- Cholesterol: 0
