

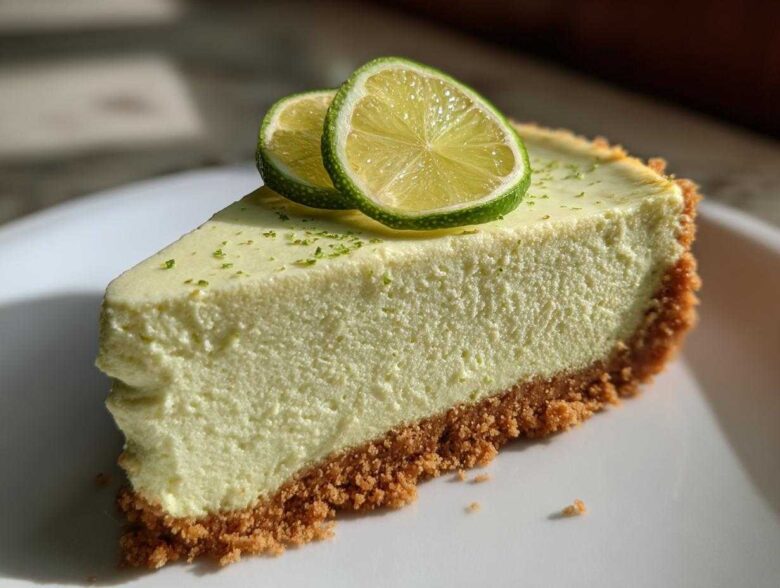
Oh my goodness, when summer hits, I want something so bright and refreshing it practically sings! Forget those heavy, boring desserts; we are making the ultimate treat today. I spent years trying to nail this recipe—I mean, *years*—because I wanted that perfect combination of thick, creamy texture and a powerful, zesty punch. Well, friends, I finally cracked the code for the best key lime cheesecake you will ever taste, and the secret, honestly, is the water bath and learning not to overmix!
This isn’t some wobbly, soupy mess; this is a rich, thick slice of heaven that holds its shape beautifully and has that glorious tangy kick. If you’ve been burned by cracked tops or grainy fillings before, trust me, this baked technique is foolproof. I’m sharing every little secret to make sure your homemade key lime cheesecake turns out picture-perfect every single time. Grab your limes; we’re going in!
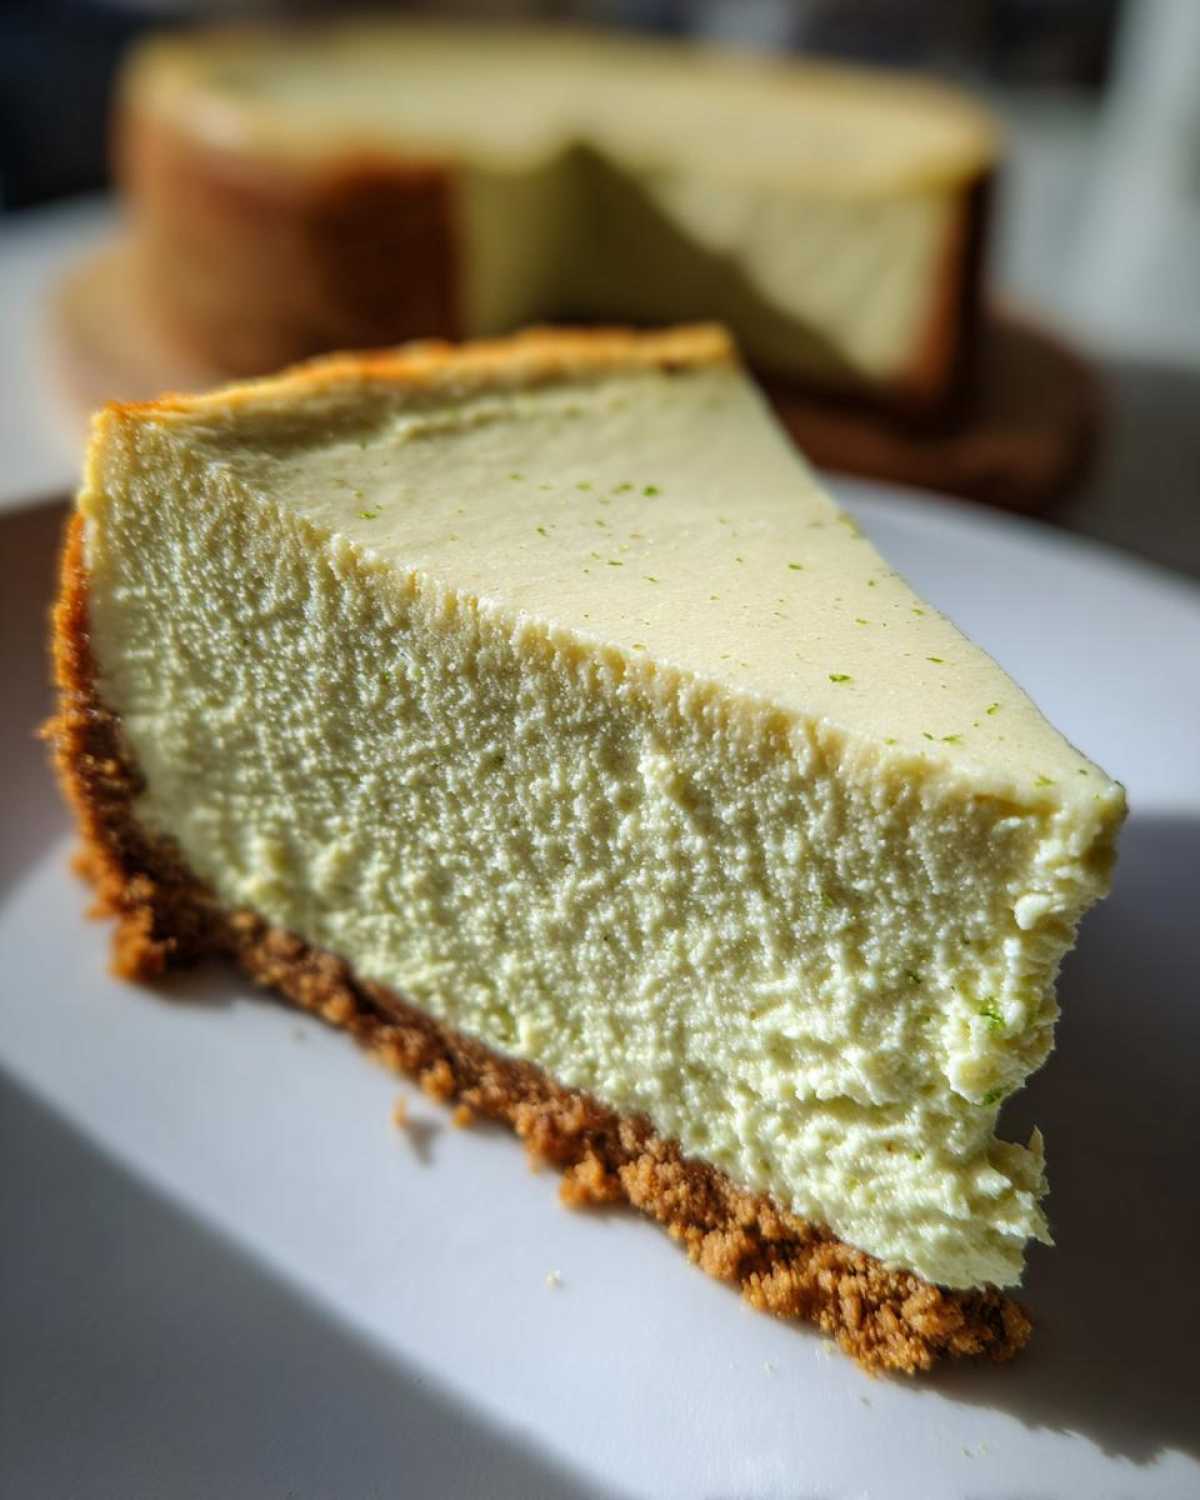
Why This Creamy Key Lime Cheesecake Recipe Works
This recipe is set up to be your new go-to! Seriously, ditch the recipes that leave you guessing. When you follow the slow cooling, you get that unbelievably smooth, creamy key lime cheesecake texture you dream about.
- It guarantees a strong, vibrant citrus flavor that tastes beautifully tangy, not weak.
- We use room temperature dairy and a specific mixing order so you never get lumps!
- The water bath technique is non-negotiable; it locks in moisture and means zero cracking.
- You get that wonderful, thick slice every time, perfect for showing off at your next gathering.
Ingredients for the Perfect Key Lime Cheesecake
Okay, ingredient quality matters here. I know it seems basic, but for a key lime cheesecake, we need things singing with freshness! Using room-temperature cream cheese and eggs is my number one rule here—if they are cold, your filling will be lumpy, and we sure aren’t having that. I’ve linked my guide on the best lemon blueberry cheesecake where I go into more detail on why temperature matters for smooth fillings, but it applies here too!
For the Graham Cracker Crust
This is our sturdy base, and it needs to be pressed down seriously firmly!
- 1 1/2 cups graham cracker crumbs (I usually pulse about 12 full graham crackers in my food processor.)
- 1/4 cup granulated sugar
- 6 tablespoons unsalted butter, melted (Make sure this is measured after melting!)
For the Rich Cheesecake Filling
This is where the magic happens—the creaminess meets that amazing tropical tang. Remember, room temperature is crucial for that rich cheesecake filling!
- 3 (8 ounce) packages cream cheese, softened (Unwrap these about two hours before you plan to mix!)
- 1 1/2 cups granulated sugar
- 1/4 cup all-purpose flour (Yes, flour! It helps keep things thick and prevents weeping.)
- 1 teaspoon vanilla extract
- 1/4 teaspoon salt
- 4 large eggs, room temperature (Don’t skip the room temp rule here!)
- 1/2 cup sour cream, room temperature (Full-fat is best for texture, trust me.)
- 1/2 cup fresh key lime juice (About 10-12 limes if you find them—the flavor difference is HUGE.)
- Zest of 2 key limes (Don’t waste that zest; it’s pure flavor!)
Step-by-Step Instructions: How to Make Key Lime Cheesecake
This is where we put all that prep to work! Remember, patience is your best friend if you want a cheesecake that looks like it came straight from a fancy bakery table. I learned the hard way that rushing the cooling process is how you end up with a giant crack right down the middle of your beautiful dessert. Read these steps carefully, especially how we treat the key lime cheesecake in the oven! If you want to see how easy it is to abandon the water bath for a different style, check out my guide on the Basque burnt cheesecake recipe, but for this creamy style, the water bath is essential.
I’m sharing every little secret to make sure your homemade key lime cheesecake turns out picture-perfect every single time. If you’ve been burned by cracked tops or grainy fillings before, trust me, this baked technique is foolproof. Grab your limes; we’re going in!
Preparing the Crust and Water Bath Setup
First things first, get that oven warmed up to 325 degrees F. Now, grab your 9-inch springform pan—this is critical—and wrap the entire outside bottom, maybe even go a little high up the sides, with heavy-duty foil. You need that double layer of protection against the water bath later. Mix your crust ingredients until they look like wet sand, press it down firmly into the bottom, and pop that into the preheated oven for just 10 minutes.
While that bakes, get your larger roasting pan ready. Place the foil-wrapped springform pan inside the roasting pan. This setup is what keeps our cheesecake super moist and crack-free, so don’t skip it!
Mixing the Tangy Lime Cheesecake Filling
Time to make that gorgeous, creamy key lime cheesecake filling! Start with your softened cream cheese and beat it until it’s completely smooth—no lumps allowed! Gradually add the rest of the sugar and the flour, mixing only until it barely comes together. Next go in the vanilla and salt.
Now for the eggs. This is the most important part for texture! Add those room-temperature eggs in one at a time, and I mean *one at a time*. Mix on low speed and stop mixing the second the yolk disappears. We aren’t agitating the batter here; overmixing develops air, and air causes cracks! Finally, gently fold in the sour cream, the fresh key lime juice, and all that lovely lime zest until it’s just one beautiful, pale green, tangy lime dessert filling.
Baking and Slow Cooling for a Perfect Key Lime Cheesecake
Pour that velvety filling right over your slightly cooled graham cracker crust. Now, carefully bring some hot water to the roasting pan until it’s about halfway up the side of the springform pan. Bake this beauty for about 60 to 75 minutes. You are looking for the edges to be set, but if you gently nudge the pan, the absolute center should still have a little wobble to it, like Jell-O.
Once that jiggle is right, turn the oven completely OFF. Prop the door open about two inches—use a wooden spoon or a wadded-up towel—and just leave it in there for a full hour. This slow descent into room temperature is what guarantees a smooth, stunning top on your key lime cheesecake. After an hour, pull it out, let it cool the rest of the way on the counter, and then chill it overnight. You deserve this perfect cheesecake!
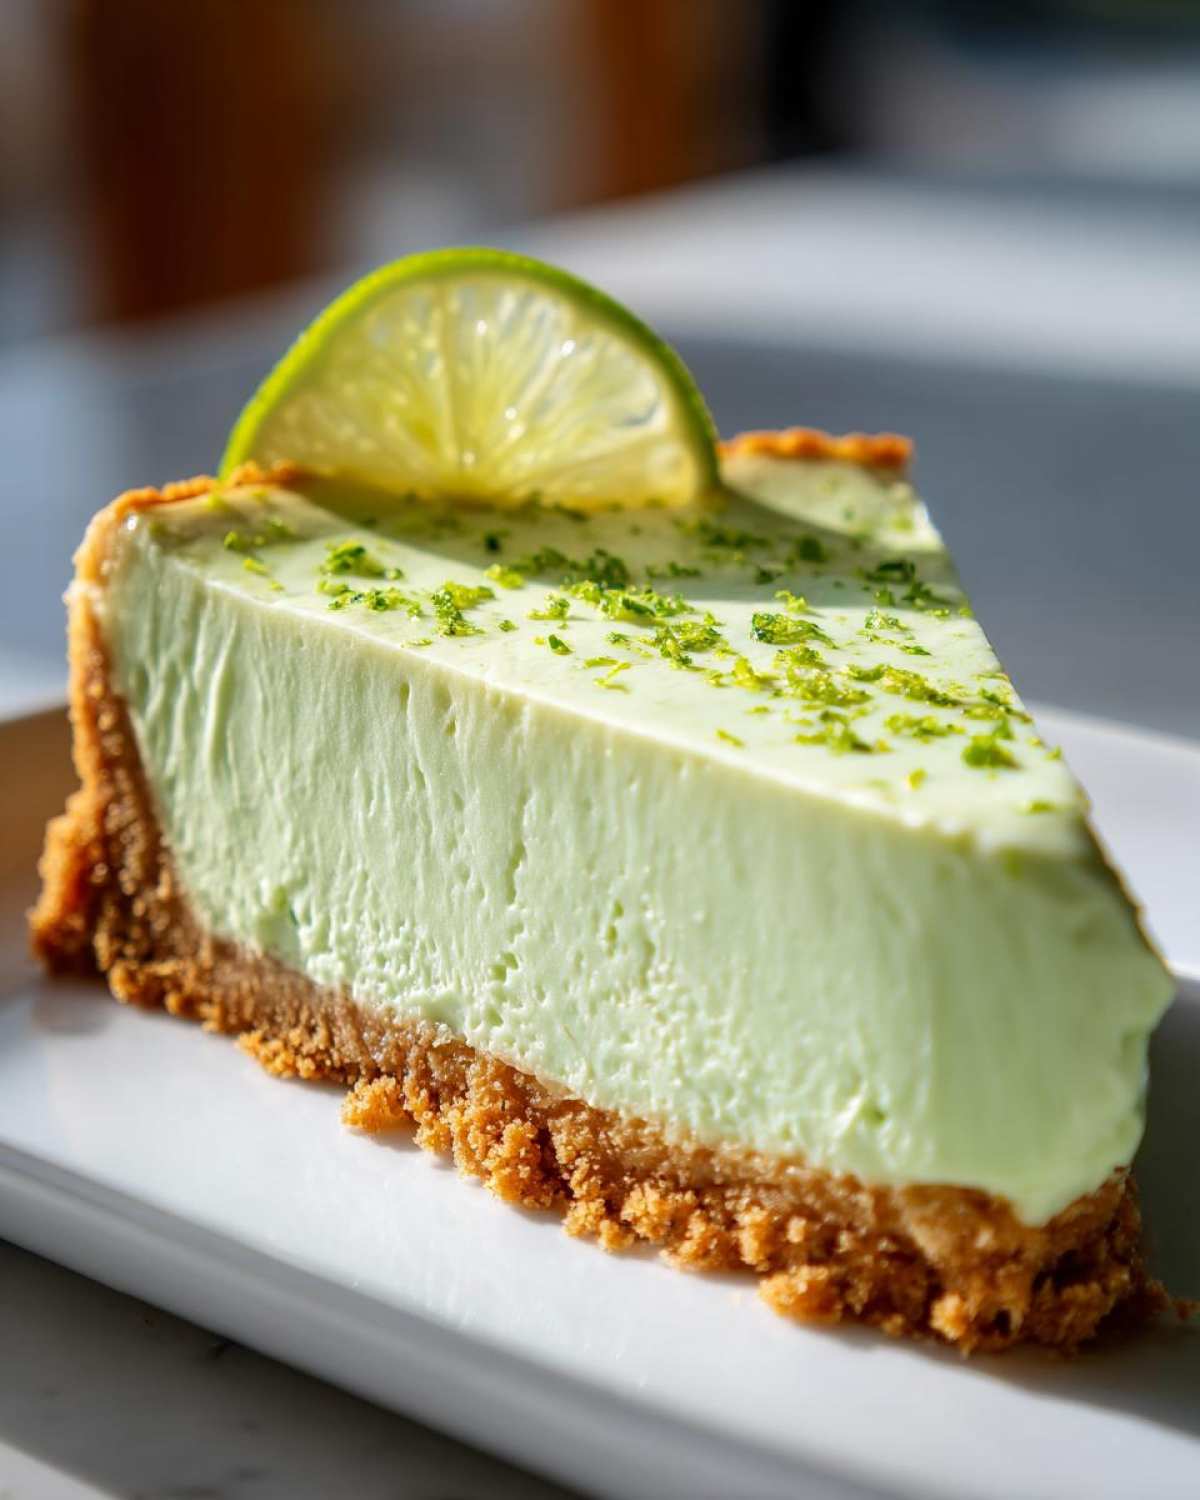
Expert Tips for the Best Key Lime Cheesecake Texture
I have made so many sad, cracked cheesecakes in my life, I could fill a cookbook with the mistakes! Seriously, my first attempt at a **key lime cheesecake** looked like the surface of the moon. It was dense, but I overmixed it by maybe thirty seconds too long, and boom—cracks everywhere.
This recipe fixes all that, but here are the last few pro tips to ensure that silky, rich cheesecake filling. I even messed up a batch trying to replicate that gorgeous smooth top I saw in a Red Velvet Cheesecake recipe once, but that’s how you learn!
- Always, always use room temperature eggs and sour cream. I cannot stress this enough! I used to try to rush this by microwaving my eggs for ten seconds—terrible idea. They ended up cooking slightly, and the resulting filling tasted funny and mixed poorly. Just plan ahead!
- When you see that slight jiggle in the center during the bake test, take it out immediately. If you wait until it’s firm, it’s already overcooked. It will firm up beautifully when it chills, and that’s how we lock in that perfect creamy texture.
- Once it’s out of the oven (after the slow cooling, of course!), cover it loosely with plastic wrap touching the top before chilling. This prevents that gross, dry skin from forming on top overnight.
Follow these little tricks, and you’ll see the difference. This method respects the ingredients, and the reward is the most unbelievably smooth summer dessert.
Ingredient Notes and Substitutions for Your Key Lime Cheesecake
I know finding actual key limes can sometimes feel like a treasure hunt, depending on where you live! Sometimes they are seasonal, or maybe they are just super expensive. Listen, the whole reason this recipe is so vibrant is that fresh juice, so you really want to try for the real deal if you can find them.
If you absolutely cannot find key limes—and I mean you’ve checked every specialty market in a fifty-mile radius—you can use regular Persian limes. They are bigger and less tart. My suggestion? Use about half a cup of regular lime juice, but then make up for that missing punch by adding a touch more zest, maybe even the zest of three limes instead of two. That extra bit of oil from the peel gives you that fantastic zesty citrus dessert aroma back.
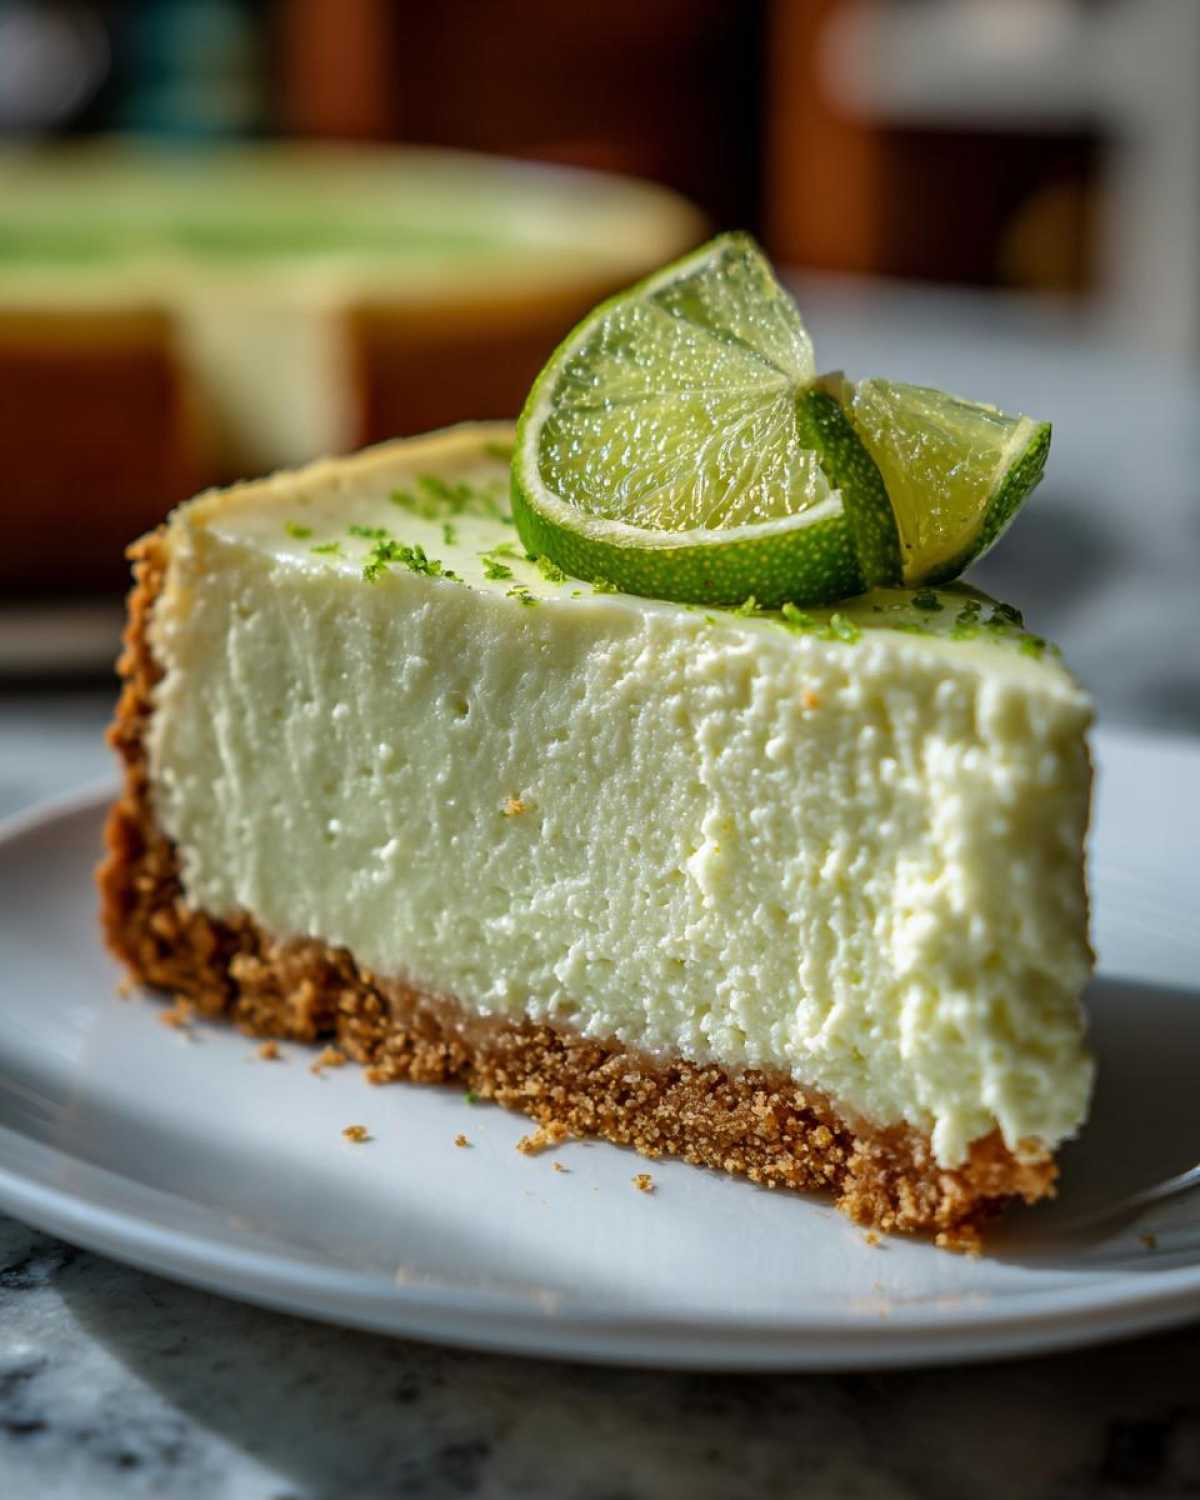
And we talked about the sour cream in the filling steps, but let’s nail this down for success. You really need the full-fat version. Low-fat or fat-free sour cream has too much water content. When you bake that, the water releases, and guess what happens? It messes with the structure of the key lime cheesecake filling! It ends up less rich and can cause slight cracking. Stick to full-fat sour cream; it keeps everything beautifully tender and creamy.
Other than that, I’m pretty flexible! The flour in the filling is just there for stability, so you don’t need to worry about swapping it out for gluten-free if you needed to, though you’d want to check alternatives for the crust if sensitivities were an issue!
Serving Suggestions for Your Tangy Lime Dessert
Now that you have this gorgeous, perfectly rich key lime cheesecake, how do we serve it up? This tangy lime dessert is so bright, it really doesn’t need much help, but a little flourish never hurt anyone!
I think a cloud of softly whipped cream is the classic choice. I sometimes make a quick batch of vanilla frosting—I keep my base recipe for vanilla buttercream frosting handy—and just whip it lighter so it’s almost like a soft dollop. Thin, paper-light slices of fresh lime laid over the top make it look so professional.
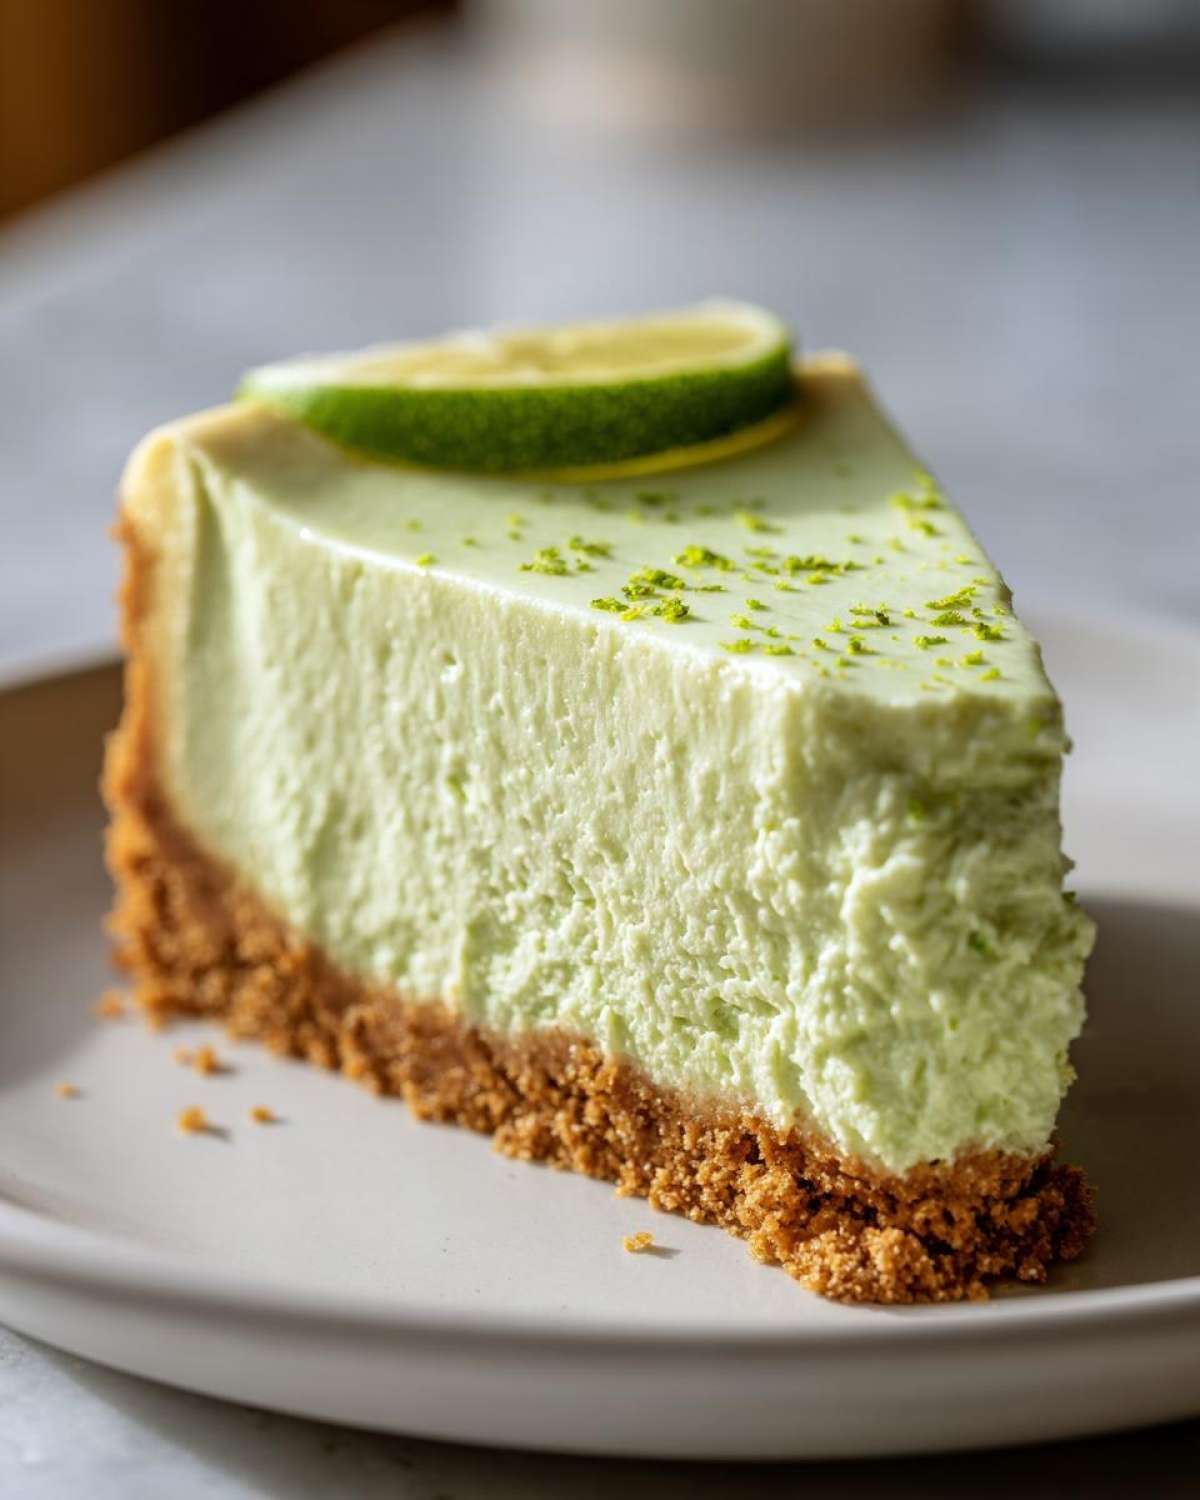
If you’re feeling extra fancy, a quick sprinkle of lime zest right before serving explodes with aroma! Honestly, though, a slice of this amazing cheesecake all by itself is really all you need.
Storage and Reheating Instructions for Key Lime Cheesecake
Okay, you’ve survived the baking, the water bath, and the agonizing year-long wait for it to cool down! Now, how do we keep this beautiful creation perfect until it’s time to eat? The absolute hardest part of making a key lime cheesecake is waiting for it to chill, but trust me, this is non-negotiable.
Don’t even think about slicing into it warm! It needs that dedicated chill time to really set up, become firm, and let those tangy flavors deepen. We’re talking a minimum of six hours, but truly, if you can manage to leave it alone in the fridge overnight, you’ll be rewarded with the very best slice.
Chilling Time is Your Friend
When my kids ask the dreaded question, “Can we eat it now, Mom?” I tell them no! The cheesecake needs at least six hours wrapped tightly. I usually cover mine loosely with plastic wrap first—just barely touching the top—to keep any fridge smells out, and then wrap the whole thing snugly in foil for extra protection. This keeps the crust from getting soggy, too.
Once sliced, the leftover pieces hold up wonderfully in the fridge for a good three to four days. If you want to store it longer, say for a party next week, freezing is great, but you have to prep it right.
Freezing Your Key Lime Cheesecake
If you want to freeze your creamy creation, make sure it’s completely chilled first—no warm cheesecake entering the freezer, please! Wrap that cooled cheesecake *very* securely. I use at least two layers of plastic wrap, followed by a snug layer of aluminum foil. Make sure it’s airtight!
When you’re ready to eat it, move the whole wrapped package into the refrigerator overnight to thaw slowly. This prevents condensation from making the crust mushy. Honestly, homemade key lime cheesecake tastes just as fantastic thawed as it does fresh!
Can I Really Not Reheat Cheesecake?
Nope, sorry! Unlike that leftover pizza, you don’t want to reheat cheesecake, baked or no-bake. If you try to warm up a slice of this luxurious dessert, the dairy fats in the cream cheese and sour cream will start to break down, and you’ll end up with a greasy, separated mess. Just let it sit on the counter for about 15 to 20 minutes before serving if it’s straight from the fridge—that takes the chill off just enough to bring out the best texture and flavor!
Frequently Asked Questions About Making Key Lime Cheesecake
I always get questions when folks try this recipe for the first time, mostly revolving around getting that perfect texture. People want an easy cheesecake recipe that still tastes fancy, right? I’ve compiled the most common things folks ask me about making this spectacular **key lime cheesecake**!
Can I make this a no bake key lime cheesecake instead?
That’s a common query! This recipe is specially designed to be baked—that’s how we get that wonderfully thick, slightly dense filling. If you want a true no-bake version, you’ll need a different recipe structure, usually involving gelatin or a lot of stabilized whipped cream to help it set firm in the fridge, like the wonderful no-bake mini cheesecake cups I’ve shared elsewhere. They are lighter and fluffier, but this baked version gives you that rich experience!
How do I get that intense zesty flavor?
It all comes back to the fruit, my friend! You simply cannot substitute that bright, sharp flavor you get from fresh key lime juice. Bottled stuff just tastes flat next to it. Make sure you zest those limes *before* you juice them, and use all that zest! That oily outer layer is where all the perfume and intense citrus aroma lives. Don’t skimp—really press that zest into the sugar mixture if you want a truly intense zesty flavor!
My cheesecake cracked—what went wrong?
If you followed the steps and it still cracked, I bet you rushed the cooling! That one hour with the oven door propped open is non-negotiable. If you move a hot cheesecake straight into a cold fridge, the temperature shock causes immediate contraction, leading to the dreaded crack. Be patient; the slow cool down prevents it every time!
Nutritional Estimates for This Homemade Key Lime Cheesecake
Now, let’s talk fuel! I always try to keep this cheesecake in the fridge for company, but I know some of you are curious about the numbers behind this big, beautiful dessert. I pulled these estimates straight from my standard tracking software based on the ingredients list we used above. Keep in mind, making this with slightly different sugar or cutting down on the crust fat will change these figures, of course!
These figures are just estimates for a single slice of this wonderful, rich cheesecake:
- Serving Size: 1 slice
- Calories: 450
- Fat: 28g (be kind to yourself, it’s butter and cream cheese!)
- Saturated Fat: 17g
- Trans Fat: 0.5g
- Carbohydrates: 42g
- Sugar: 35g
- Protein: 7g
- Cholesterol: 120mg
- Sodium: 280mg
Since this is a seriously rich dessert, portion control is key, but honestly, a slice of this perfectly creamy key lime cheesecake is worth every single calorie. Enjoy it responsibly!
PrintThe Best Creamy, Tangy Key Lime Cheesecake

Follow this recipe to make a rich, thick, and zesty key lime cheesecake with a graham cracker crust. This baked version focuses on technique for a smooth, crack-free top.
- Prep Time: 25 min
- Cook Time: 75 min
- Total Time: 140 min
- Yield: 12 servings
- Category: Dessert
- Method: Baking
- Cuisine: American
- Diet: Vegetarian
Ingredients
- 1 1/2 cups graham cracker crumbs
- 1/4 cup granulated sugar
- 6 tablespoons unsalted butter, melted
- 3 (8 ounce) packages cream cheese, softened
- 1 1/2 cups granulated sugar
- 1/4 cup all-purpose flour
- 1 teaspoon vanilla extract
- 1/4 teaspoon salt
- 4 large eggs, room temperature
- 1/2 cup sour cream, room temperature
- 1/2 cup fresh key lime juice (about 10-12 limes)
- Zest of 2 key limes
Instructions
- Preheat your oven to 325 degrees F. Wrap the outside bottom of a 9-inch springform pan tightly with heavy-duty aluminum foil.
- Prepare the crust: Mix graham cracker crumbs, 1/4 cup sugar, and melted butter. Press the mixture firmly into the bottom of the prepared springform pan. Bake for 10 minutes. Remove and let cool slightly.
- Prepare the water bath: Place the foil-wrapped springform pan inside a larger roasting pan.
- Prepare the filling: In a large bowl, beat the softened cream cheese until smooth. Gradually beat in 1 1/2 cups sugar and flour until just combined. Mix in vanilla extract and salt.
- Beat in eggs one at a time, mixing only until each egg is incorporated. Do not overmix.
- Stir in sour cream, key lime juice, and lime zest until the mixture is smooth and creamy.
- Pour the filling over the cooled crust.
- Carefully pour hot water into the roasting pan until the water reaches halfway up the sides of the springform pan.
- Bake for 60 to 75 minutes, or until the edges are set but the center still jiggles slightly when gently nudged.
- Turn off the oven. Prop the oven door open slightly (about 2 inches) and let the cheesecake cool inside the oven for 1 hour. This slow cooling prevents cracking.
- Remove the cheesecake from the water bath and foil. Cool completely on a wire rack.
- Chill the cheesecake in the refrigerator for at least 6 hours, preferably overnight, before serving.
Notes
- Use room temperature ingredients for the filling to prevent lumps and ensure a creamy texture.
- For the best flavor, use fresh key lime juice rather than bottled concentrate.
- If you do not have key limes, you can substitute with regular Persian limes, adjusting the amount of zest as needed for intensity.
Nutrition
- Serving Size: 1 slice
- Calories: 450
- Sugar: 35g
- Sodium: 280mg
- Fat: 28g
- Saturated Fat: 17g
- Unsaturated Fat: 11g
- Trans Fat: 0.5g
- Carbohydrates: 42g
- Fiber: 1g
- Protein: 7g
- Cholesterol: 120mg
