

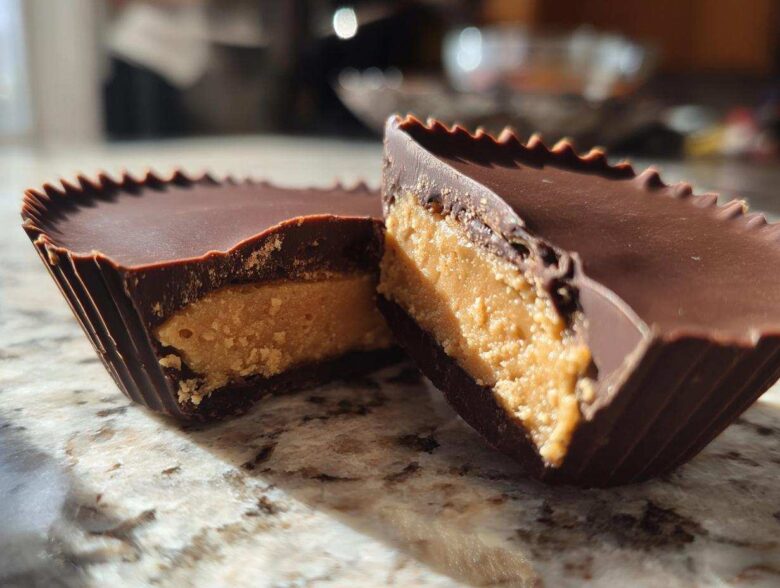
Oh my gosh, do you ever just get that specific, nagging craving for that classic salty-sweet mix? You know the one! Sometimes only a thick, slightly crumbly peanut butter center surrounded by snappy chocolate will do the trick. Well, stop buying those flimsy things wrapped in foil because I’ve got the cure. We’re making the Easy Homemade No-Bake Peanut Butter Cups, and trust me, these are better than the store-bought kind!
This recipe is my absolute go-to when the candy aisle just isn’t cutting it. The beauty is they are genuinely simple—we’re only talking about a handful of ingredients here—and they set up beautifully in the fridge, meaning zero oven time. Seriously! I spent weeks fussing with the ratios, trying to get that perfect balance between the sweet filling and the rich chocolate shell, and I finally cracked the code on this incredible chocolate peanut butter candy ratio. You are going to want to double the batch because they disappear fast. I always send extras over to my neighbors when I make a batch, just so I don’t eat them all myself!
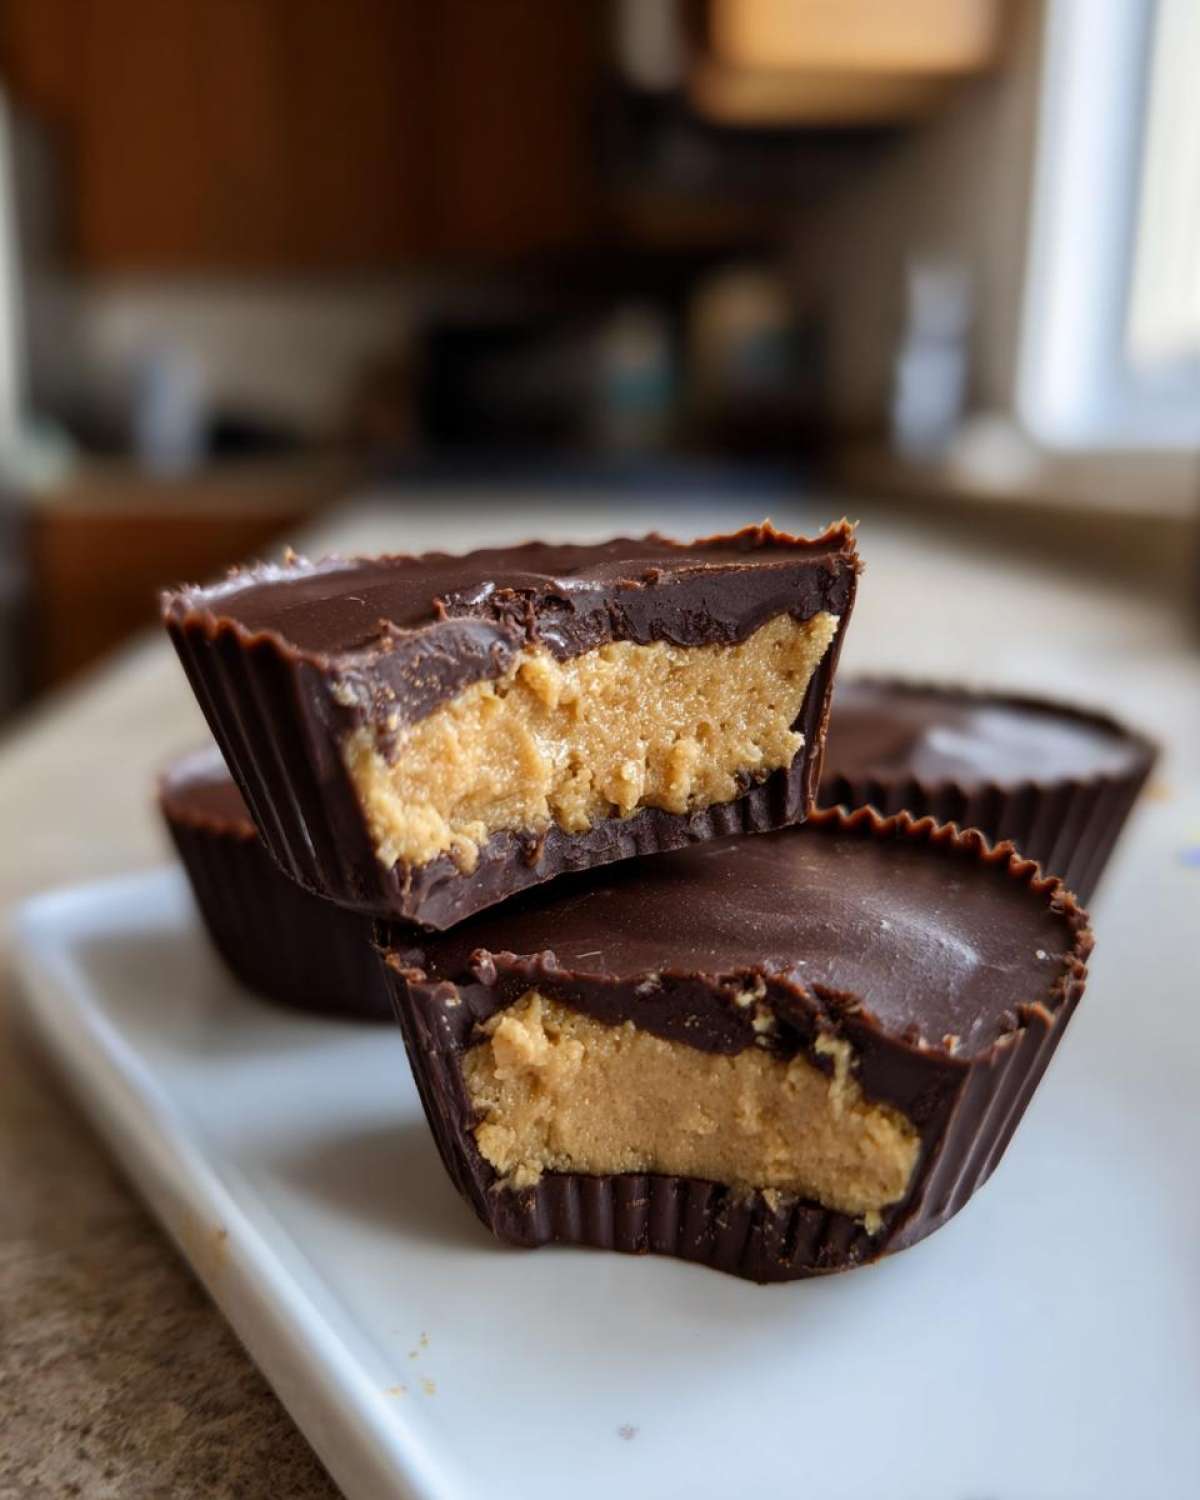
You can find my full, tested instructions on this main recipe page, but grab your muffin tin, because we’re about to get started on the best peanut butter cups you’ve ever made!
Why You Will Make These Homemade Peanut Butter Cups Repeatedly
Why mess around with complicated candy recipes when the best version is right here and requires absolutely no baking? These simple chocolate cups deliver that nostalgic flavor we all love, but with way better quality ingredients. Trust me, you’ll be reaching for this recipe often.
- They are completely no-bake! Just mixing, pressing, and chilling—that’s it.
- The rich, sweet filling sets up perfectly firm thanks to just a little bit of butter.
- You control the chocolate! Use high-quality chips for the best results, or swap them out completely if you’re feeling creative.
- These are amazing for making ahead and tucking into cookie tins for holidays. Check out my other no-bake mini treats for serving ideas!
The Essential Ingredients for Perfect Peanut Butter Cups
Okay, the best part about making these homemade peanut butter cups is how incredibly short the ingredient list is. Seriously, you probably have all this stuff lying around right now! Having these particular items on hand means you can whip up a batch of these simple chocolate cups anytime the craving hits. We need to keep the filling rich and the chocolate coating smooth, and this roster of ingredients handles that perfectly. Check out my favorite 5 ingredient peanut butter cookies if you love baking with minimal fuss too!
For the Rich Peanut Butter Filling
- 1 cup creamy peanut butter (Don’t grab the natural stuff unless you stir it really, really well!)
- 1/2 cup unsalted butter, softened to room temperature (This is key for smoothness!)
- 2 cups powdered sugar (This makes the filling light, not grainy.)
- 1 teaspoon vanilla extract
For the Chocolate Coating
- 1 1/2 cups semi-sweet chocolate chips (Your favorite brand works great here!)
- 1 tablespoon coconut oil (This makes the chocolate melt like silk and gives it a lovely snap when it hardens.)
Step-by-Step Guide: Making Easy Peanut Butter Cups
Pulling together these amazing peanut butter cups is so straightforward, even if you’ve never made candy before. The secret here is giving the base layers just a little time to chill so they don’t end up muddy. We want clean layers, right? Just follow these steps carefully—you’ll be amazed at how quickly these come together! If you love this no-bake magic, you definitely need to check out my recipe for no-bake Oreo balls next!
Preparing the Muffin Tin and Filling
First things first, grab your mini muffin tin and pop in those little paper liners. You need 24, so line up accordingly! Now for the delicious part: the filling. In a good solid bowl, we’re going to put that creamy peanut butter, the softened butter, all the powdered sugar, and the vanilla. You’ll want to beat this together, either with a hand mixer or really strong arms, until it is completely smooth and creamy. It should look pale and beautiful, almost like frosting.
Next, take about one teaspoon of that rich peanut butter mixture and press it down firmly into the bottom of each paper liner. You’re creating a nice, flat base here. Make sure you press it into the liner so it’s compact; no one wants a half-crumbled center!
Setting the Base and Melting the Chocolate
Once all those bases are pressed, the freezer needs to do some work! Pop that entire muffin tin into the freezer for about 10 minutes to let the filling firm up quickly. This prevents the chocolate from sinking right through it when we add the topping.
While that’s chilling, melt your chocolate! Put your semi-sweet chocolate chips and the sneaky little tablespoon of coconut oil into a microwave-safe bowl. I always microwave mine in 30-second bursts, stirring really well in between each interval. Stop heating as soon as it’s mostly melted, and just keep stirring until the residual heat melts the last few lumps. We need this so smooth, like glass!
Assembling and Chilling Your Peanut Butter Cups
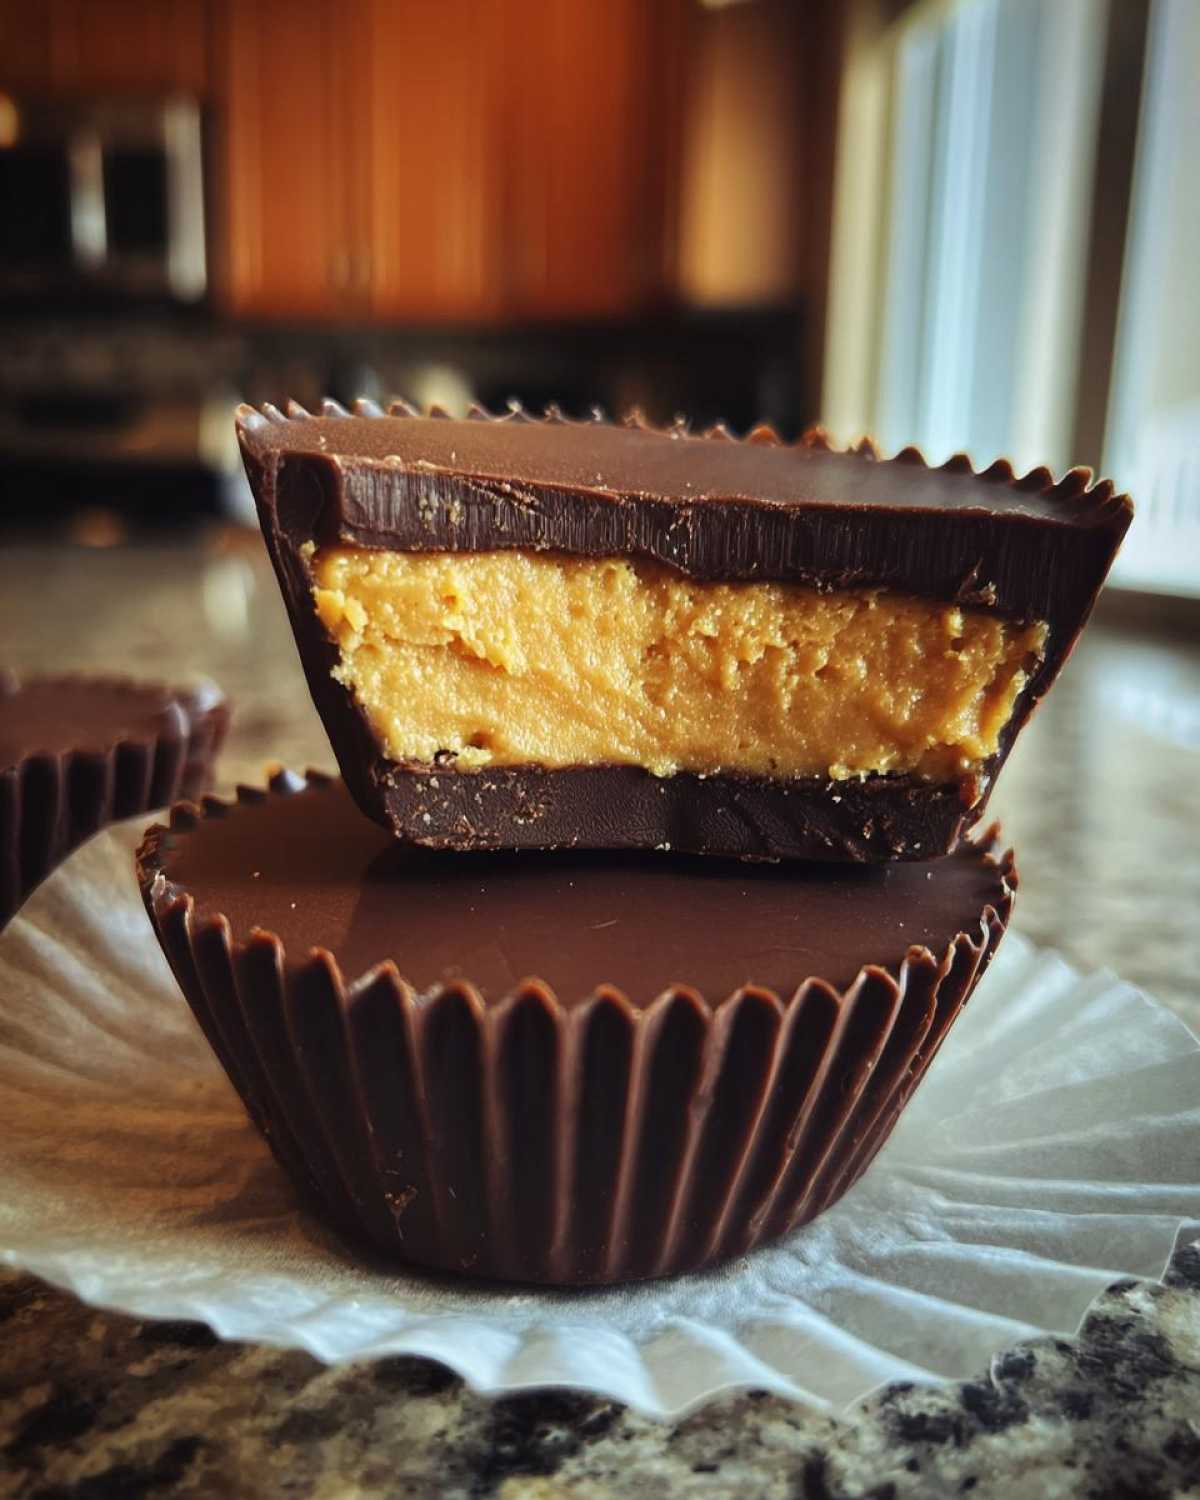
Time to layer! Take the tin out of the freezer. You’ll spoon about 1 1/2 teaspoons of that melted chocolate right over the set peanut butter base in each cup. Gently nudge the chocolate around with the spoon to make sure the entire filling is covered. Don’t worry about making it perfect; we’re hiding it away to chill anyway!
Now, back into the refrigerator they go. You need to let these chill for at least one full hour—sometimes longer if your fridge isn’t super cold—until that top chocolate layer is totally firm to the touch. Once they are solid, just peel off those paper liners, and your amazing, easy peanut butter cups are ready to eat!
Tips for Success When Making Peanut Butter Cups
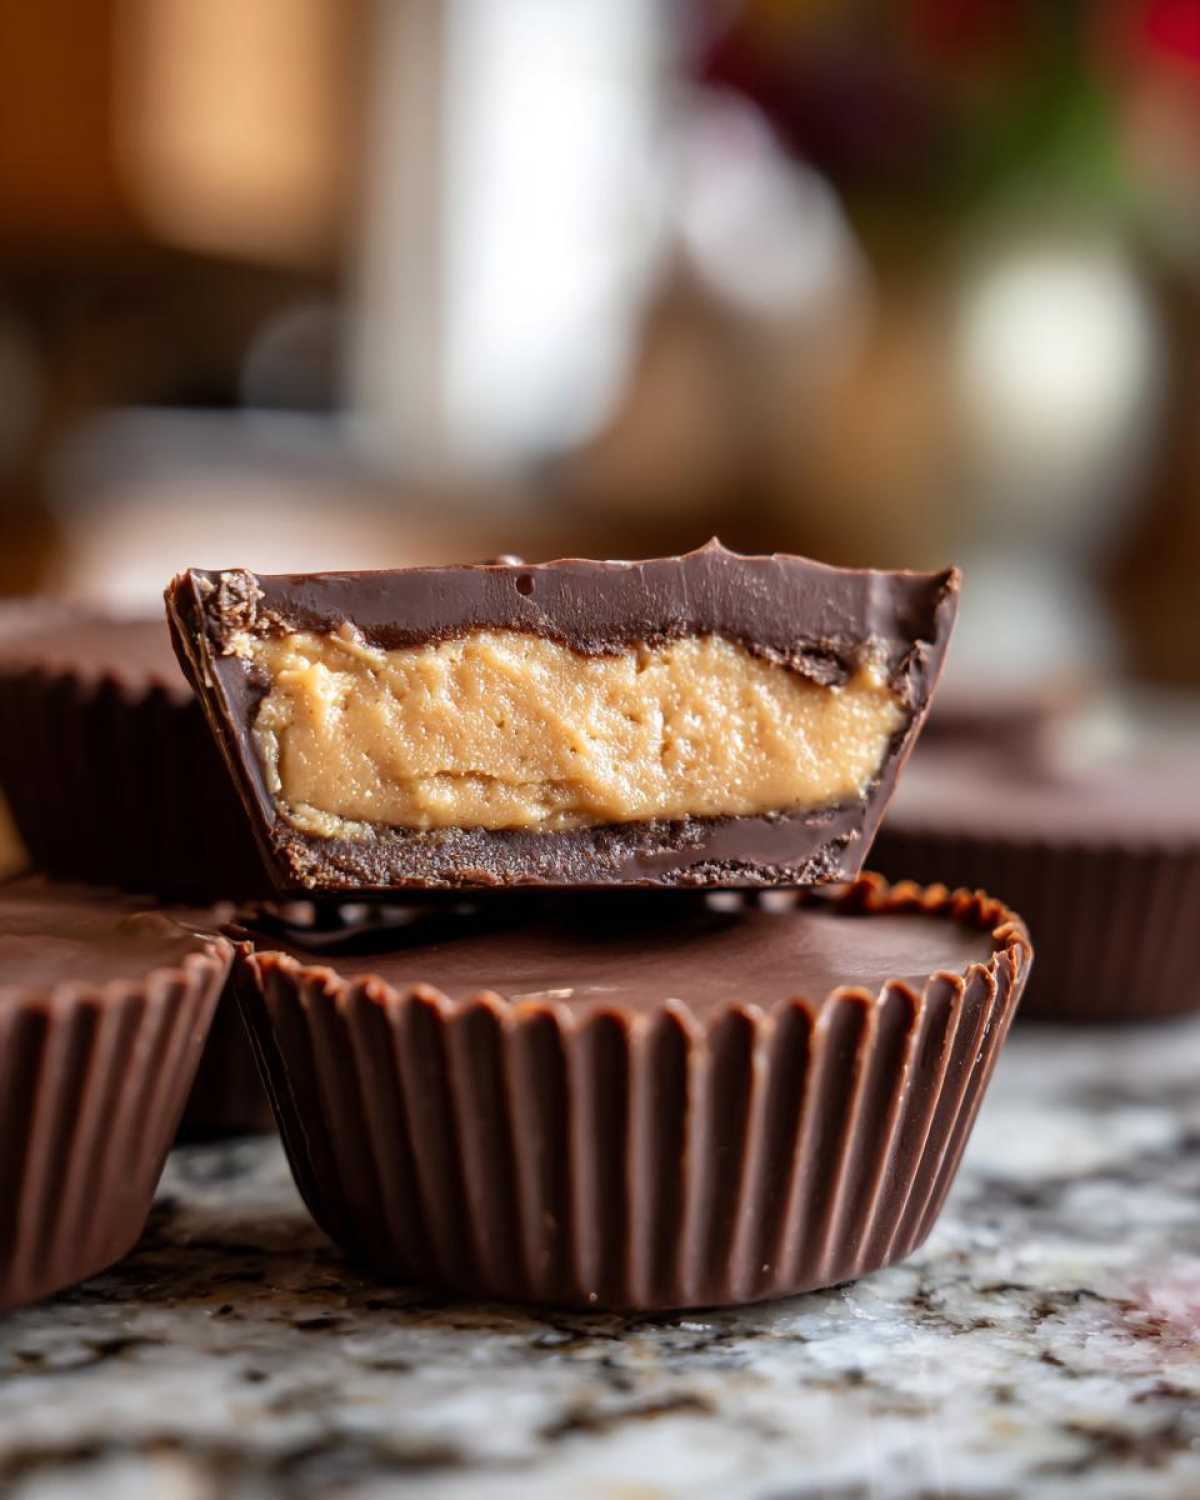
I’ve learned a few things over the years tweaking this easy peanut butter cups recipe to make sure they come out tasting like the absolute best version of that classic candy. Don’t stress if your first batch is a little messy; candy-making is all about these little tricks! If you need more inspiration on quick treats, maybe check out my easy Salisbury steak recipe while you wait for these to chill—just kidding! Stick to the chocolate!
If you use natural peanut butter, you MUST stir it thoroughly, like seriously stir it until your wrist aches. If you don’t, that separated oil will try to sneak out into your chocolate layer, making things go south quickly. Also, don’t skip that short blast in the freezer after you press the filling down. That step is what keeps your peanut butter base stable—otherwise, your chocolate topping might just squish it all out of the liner!
Remember, for the best storage life, these peanut butter cups need to stay chilly. I always put the leftovers in an airtight container in the fridge immediately after they firm up. They stay good for ages, usually up to two weeks, which is great since they rarely last that long in my house anyway!
Variations on Classic Peanut Butter Cups
Now, I know most of you are here because you want that classic, pure flavor, but sometimes we need a little tweak, right? Whether you’re watching sugar intake or trying to sneak in some extra goodness, these peanut butter cups are so versatile. We can keep that signature chocolate peanut butter candy texture even when we swap out some key players. I love experimenting with these; check out my favorite high-protein no-bake snacks too!
Creating Healthy Peanut Butter Cups
If you want to skip the powdered sugar, you absolutely can! I’ve had success using a mix of maple syrup and a touch of stevia to keep things sweet but reduce refined sugars. If you want a heartier filling that’s slightly less sweet, try swapping out maybe a quarter cup of the powdered sugar for oat flour. This also helps keep things nicely structured, and it’s a great way to make these gluten free peanut butter cups if you use certified oats!
Making Protein Peanut Butter Cups
This variation is perfect for tossing into a post-workout snack tin! When adding protein powder to the filling, remember that protein powder is super dry compared to sugar, so you might need a tiny splash more butter or peanut butter to keep that filling smooth. Start by substituting about half the powdered sugar with your favorite vanilla or unflavored protein powder. Mix it slow, and if it starts getting crumbly, just add a half teaspoon of extra butter at a time until it comes back to that gorgeous, pipeable scoopable consistency.
Storage and Reheating for Your Homemade Peanut Butter Cups
Now that you’ve made these divine peanut butter cups, figuring out how long they last is the next big question, right? Since these are no-bake and rely on butter and chocolate for structure, we have to keep them cool. They are definitely best enjoyed chilled!
The official line, based on my testing (which usually involves me sampling one every morning for two weeks), is that they last up to two weeks when stored properly. The most important thing is getting them into an airtight container. If you leave them just sitting out on a plate, the ambient room temperature is going to make them soft quickly, especially the filling, and nobody wants gooey chocolate sticking to the lid of their container!
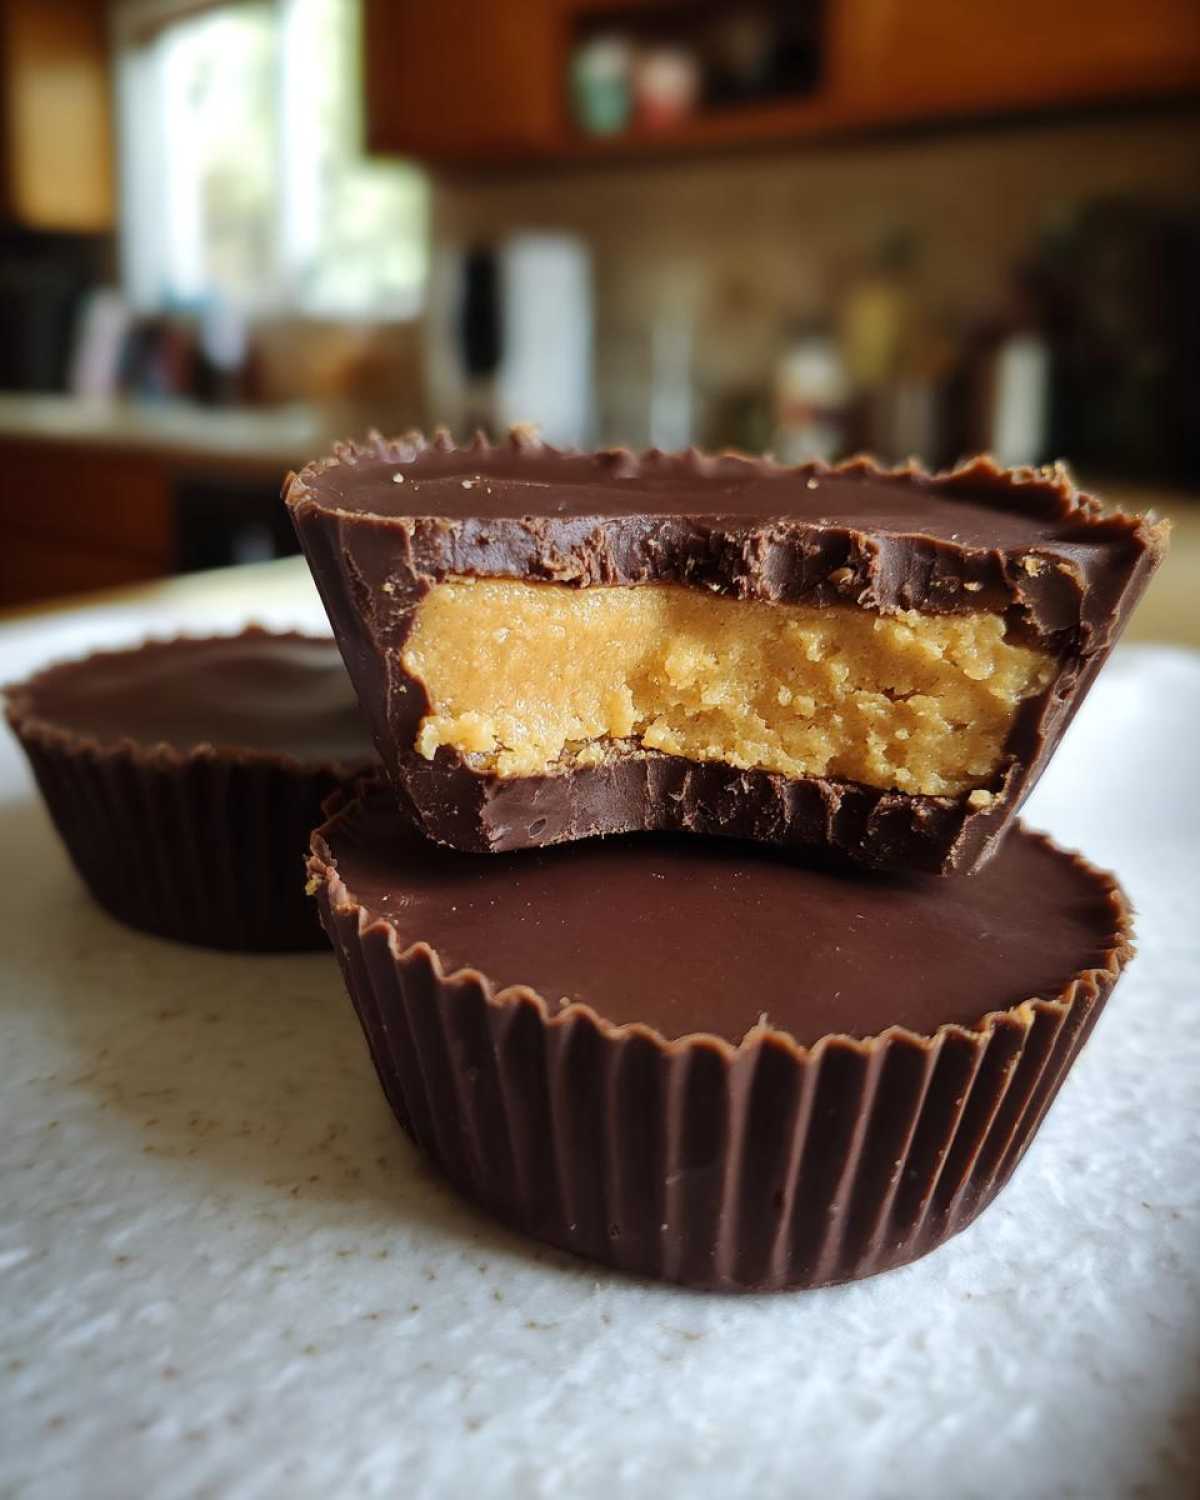
For the best flavor and texture, keep them in the refrigerator. If you prefer them slightly softer for serving—maybe you want them less snappy right out of the cold—just pull the container out about 10 minutes before you want to eat them. That little bit of time lets the chocolate temper just a tiny bit without letting the filling get too warm. Honestly, reheating isn’t really a thing for these simple chocolate cups; they are meant to be eaten cold, snappy, and perfect. If you are looking for a warm treat, you should check out my easy homemade chocolate fudge recipe instead, which is lovely warm!
Frequently Asked Questions About Peanut Butter Cups
I get so many questions about these delightful little candies! It’s totally normal when you’re trying to nail that perfect reeses peanut butter cup copycat flavor at home. Here are a few of the most common things folks ask me when they are using their muffin tin candy recipe for the first time. Need more baking help? Take a peek at my guide on making cookie cake for other fun desserts!
Can I use natural peanut butter in this easy peanut butter cups recipe?
Yes, you totally can, but you have to be prepared! Natural peanut butter separates so much more than the standard creamy kind. If you decide to use it for that wonderfully rich peanut butter filling, you absolutely must stir it until it’s ridiculously well combined *before* you measure it out. If you don’t, that oil is going to try and seep out into your chocolate coating, and you’ll end up with a greasy mess instead of a nice, clean layer. Don’t say I didn’t warn you!
What is the best chocolate to use for the coating on these copycat candy recipe treats?
For me, the very best results come from using standard semi-sweet chocolate chips paired with that tiny bit of coconut oil we add. Why? Because that little bit of coconut oil lowers the melting point just enough so your chocolate flows beautifully right over that chilled filling. When it sets up in the fridge, it gives you that fantastic, satisfying *snap* when you bite into it. If you use pure chocolate bars, you might need more oil, or the texture could get too hard.
Can I skip the chilling time for these quick dessert treats?
Oh, I wish you could! But no, you really shouldn’t skip the chill time, especially on the first layer. If that peanut butter filling is soft when you pour the top layer of chocolate on, the warm chocolate will sink right down into it, and you’ll lose those gorgeous, distinct layers. Plus, warm filling makes the chocolate top too runny to spread evenly. That 10 minutes in the freezer for the base is mandatory, and the hour in the fridge for the final set ensures you get those perfectly formed, delicious quick dessert treats!
Nutritional Estimates for These Decadent Chocolate Treats
Alright, let’s talk numbers for these marvelous decadent chocolate treats. Since we aren’t using any commercial stabilizers or preservatives, these numbers are just my best guess based on standard calculations for store-bought ingredients. If you use different chocolate or a different brand of peanut butter, your actual macros might swing a little bit! These estimates are based on getting exactly 24 mini cups out of the batch.
This isn’t exactly health food, of course—we are making chocolate candy!—but knowing what’s in your homemade peanut butter cups is smart baking. Remember, these are the estimates per single mini cup, so they are actually quite manageable for a sweet snack!
- **Serving Size:** 1 mini cup
- **Calories:** 135
- **Total Fat:** 9g
- **Saturated Fat:** 4g
- **Carbohydrates:** 14g
- **Sugar:** 12g
- **Protein:** 3g
- **Cholesterol:** 10mg
If you’re worried about the sugar, remember that swapping to zero-calorie sweeteners in the filling, as we discussed in the variations section, is what you’ll need to do to significantly alter those sugar counts. For all the details on how the full recipe works, you can always hop back to my chocolate meringue pie secrets if you need a different kind of sweet bake!
Share Your Homemade Peanut Butter Cups Creations
I absolutely LOVE hearing from you guys when you try out my recipes! Seriously, seeing your baking success makes all the recipe testing worth it. I really hope you enjoyed making these peanut butter cups just as much as I do.
Once you’ve had a chance to chill them and sneak a few (or, let’s be real, a dozen), please come back and leave a rating and a quick comment below. Did you double the batch like I suggested? Did you try any fun chocolate swaps? Let me know how your homemade peanut butter cups turned out!
And please, if you shared a photo on Instagram or shared your little candy haul on Facebook, tag me! I adore seeing your creations pop up in my feed. You can always connect with me directly through my contact page if you have questions or just want to rave about how easy this no bake peanut butter cups recipe was. Happy sweet snacking!
PrintEasy Homemade No-Bake Peanut Butter Cups
Make simple, rich peanut butter cups at home that taste like the classic candy. This no-bake recipe uses few ingredients and sets quickly.
- Prep Time: 15 min
- Cook Time: 5 min
- Total Time: 80 min
- Yield: 24 mini cups
- Category: Dessert
- Method: No-Bake
- Cuisine: American
- Diet: Vegetarian
Ingredients
- 1 cup creamy peanut butter
- 1/2 cup unsalted butter, softened
- 2 cups powdered sugar
- 1 teaspoon vanilla extract
- 1 1/2 cups semi-sweet chocolate chips
- 1 tablespoon coconut oil
Instructions
- Line a 12-cup mini muffin tin with paper liners.
- In a medium bowl, beat together the peanut butter, softened butter, powdered sugar, and vanilla extract until smooth and well combined. This is your filling.
- Press about 1 teaspoon of the peanut butter mixture firmly into the bottom of each paper liner, forming a flat base.
- Place the muffin tin in the freezer for 10 minutes to set the bases.
- In a microwave-safe bowl, combine the chocolate chips and coconut oil. Microwave in 30-second intervals, stirring well after each, until the chocolate is completely smooth.
- Spoon about 1 1/2 teaspoons of melted chocolate over the peanut butter base in each cup, spreading it gently to cover the filling completely.
- Return the muffin tin to the refrigerator and chill for at least 1 hour, or until the chocolate is firm.
- Peel off the paper liners before serving your homemade peanut butter cups.
Notes
- For a richer flavor, use natural peanut butter that has been stirred well to incorporate the oil.
- If you do not have a mini muffin tin, you can use a standard 12-cup muffin tin, but you will need to increase the filling and topping amounts slightly.
- Store leftover peanut butter cups in an airtight container in the refrigerator for up to two weeks.
Nutrition
- Serving Size: 1 mini cup
- Calories: 135
- Sugar: 12
- Sodium: 65
- Fat: 9
- Saturated Fat: 4
- Unsaturated Fat: 5
- Trans Fat: 0
- Carbohydrates: 14
- Fiber: 1
- Protein: 3
- Cholesterol: 10
