

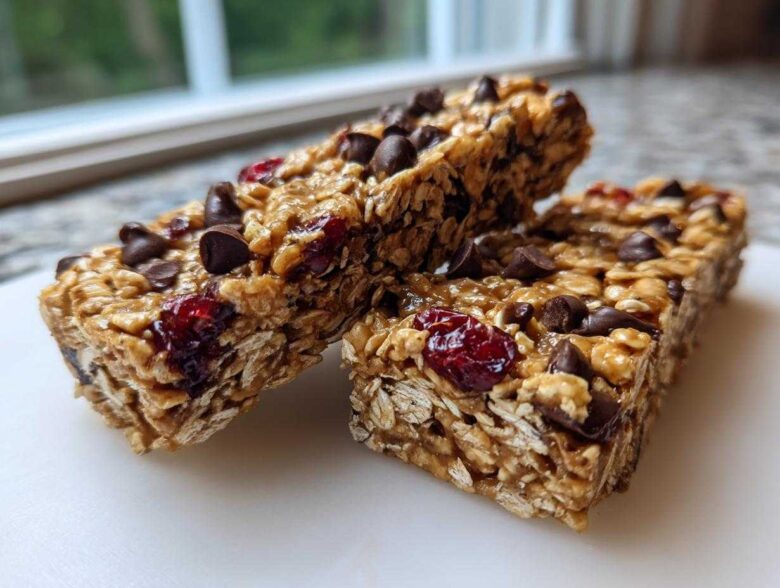
Oh, you know those days when you desperately need a snack—something chewy, something satisfying—but the thought of turning on the oven feels like climbing a mountain? Me too, constantly! That’s why I perfected this formula for the Ultimate Chewy No Bake Granola Bars. Forget everything you thought you knew about dry, crumbly homemade bars; this is the real deal. They are ready in minutes and are my go-to for quick, healthy snacking all week long.
Seriously, I must have made three dozen batches trying to get the ratio between the nut butter and the sweetener just right so that these no bake granola bars hold together perfectly when you slice them. Once you nail that binder, you won’t look back. It’s the easiest way to get wholesome energy without the heat!
Why These Are the Best No Bake Granola Bars for Meal Prep
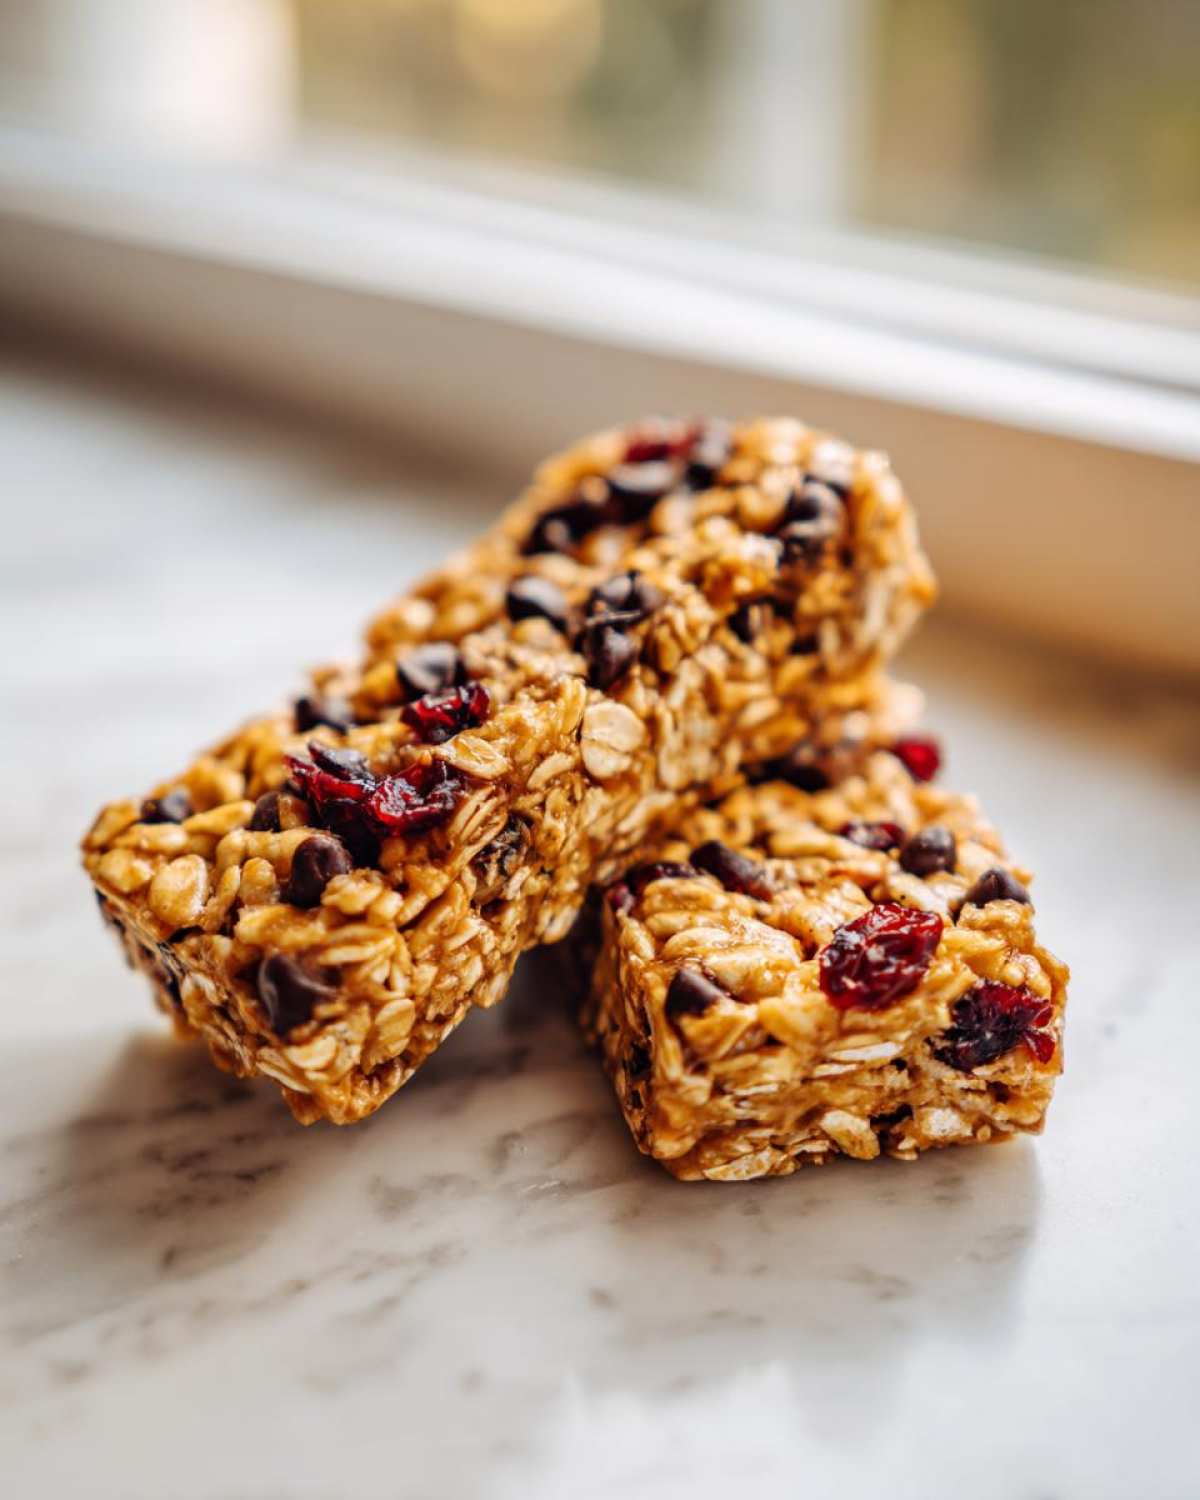
If you’re anything like me, meal prepping needs to be fast, or it just won’t happen. That’s exactly why these bars are total lifesavers. We are talking about 15 minutes of actual hands-on work before they go into the fridge to get firm. No oven, no tricky timing—just mix, press, and chill! This makes them the ultimate homemade granola bars.
Here’s why I keep coming back to this recipe when I need healthy grab and go bars ready for the week:
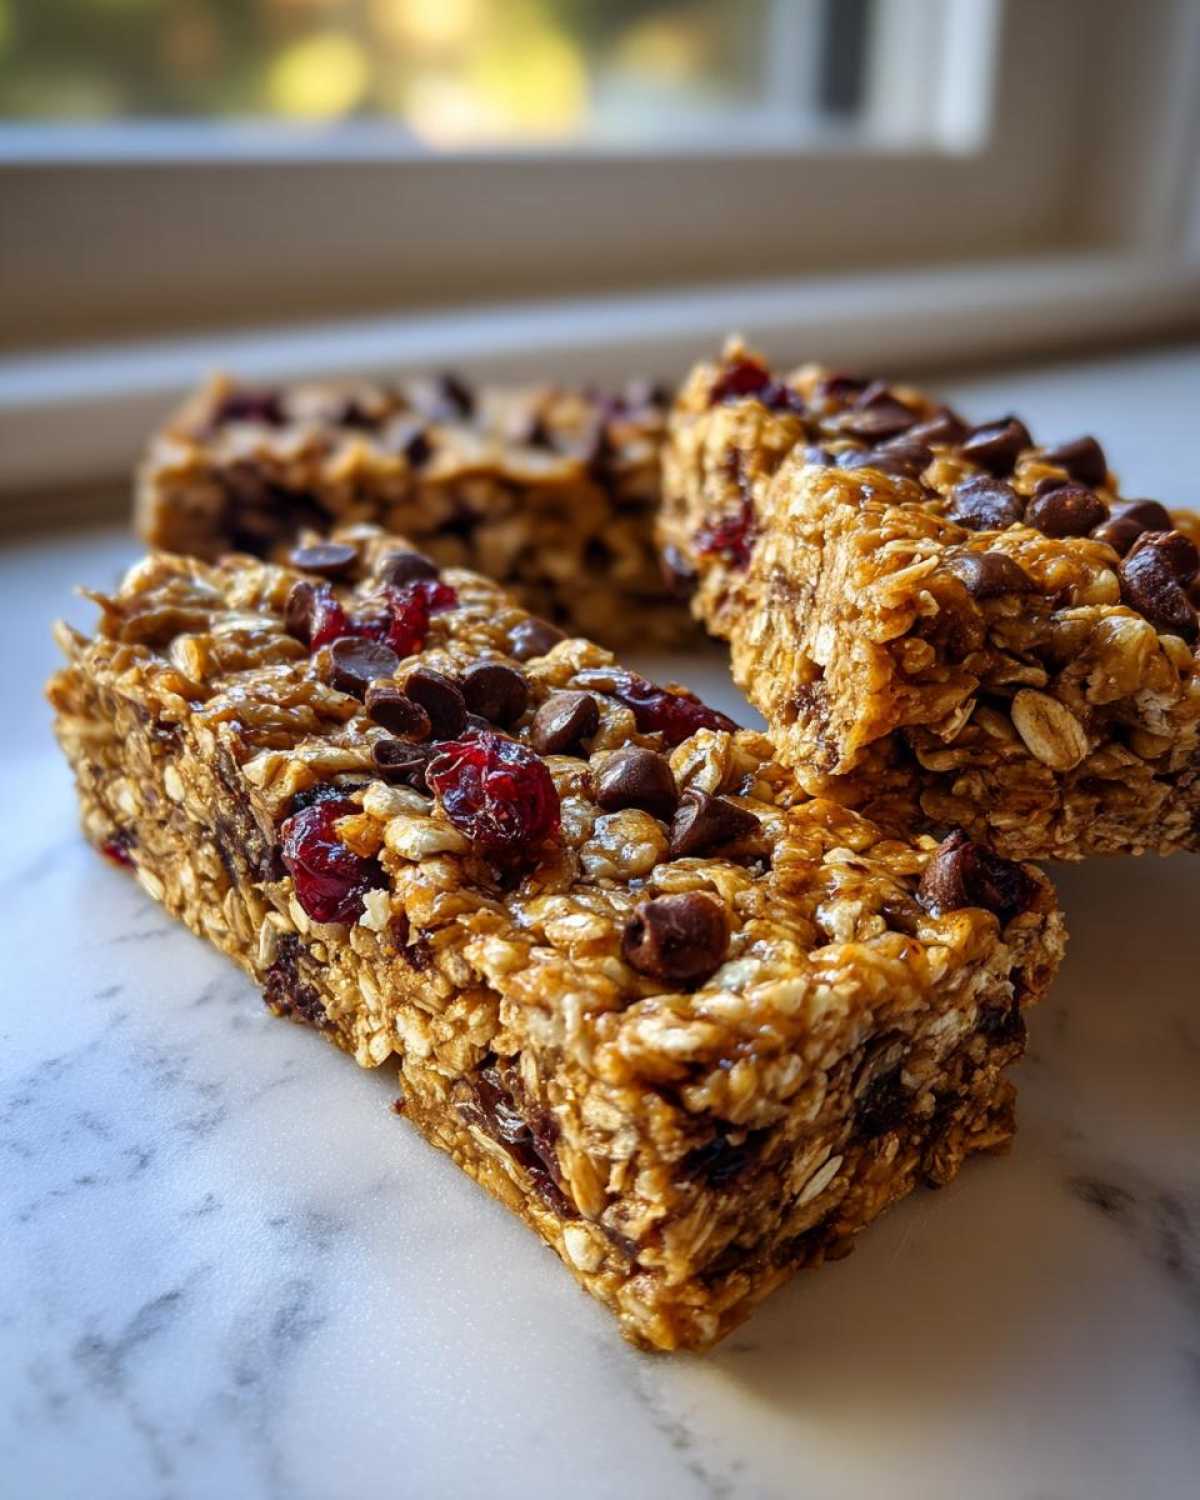
- They are incredibly satisfying—the texture isn’t cakey or dry; it’s genuinely chewy!
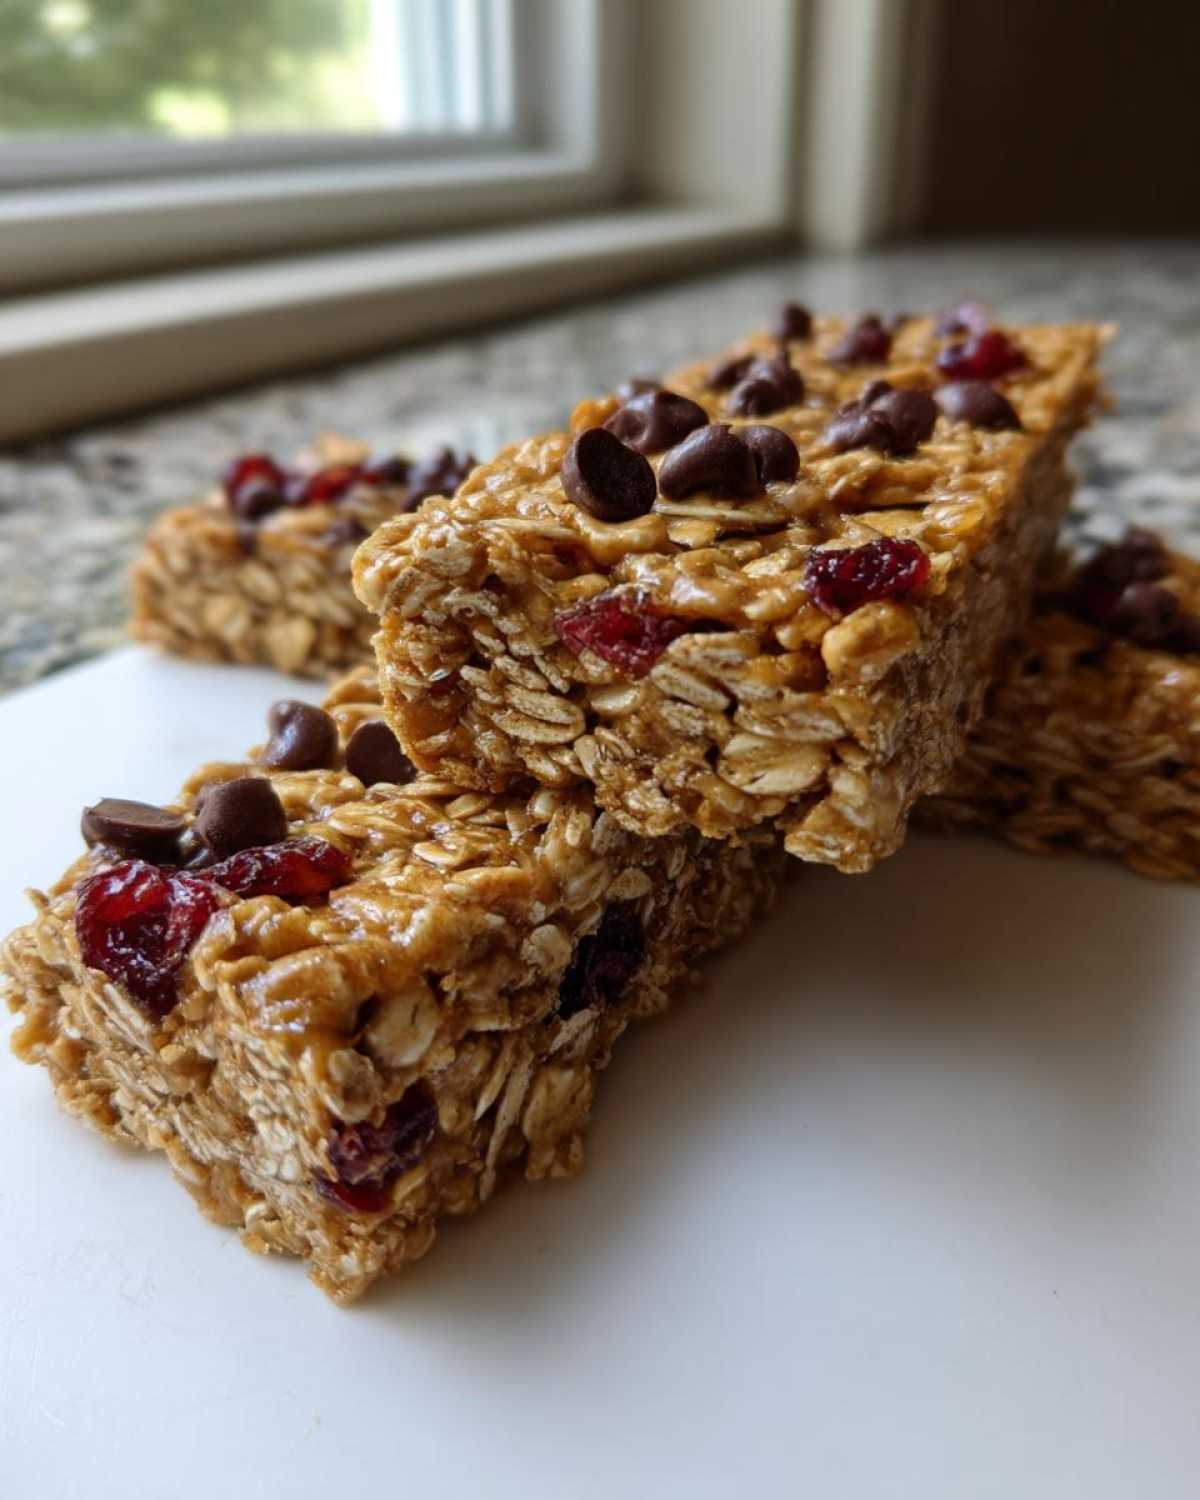
- They pack up beautifully. I never have crumbs falling out of my lunch bag.
- The ingredient list is basically pantry staples, making them budget-friendly.
Quick Snack Recipes: Ready in Under 15 Minutes Prep
Honestly, the longest part of this recipe is waiting for the ingredients to combine smoothly after you nuke the peanut butter a little bit. Once you stir everything together, it goes straight into the pan. You put them in the fridge, go watch a show, and boom—you have prepared snacks for days! Total hands-on time is minimal, which is fantastic for busy mornings.
Achieving the Perfect Chewy No Bake Treats Texture
This is where we gain our expertise! The secret to having zero crumbly messes is the perfect warming ratio of nut butter and honey. When you heat those two binding agents, they become fluid and coat every single oat evenly. That coating is what locks everything in place once it chills. It’s a simple chemical reaction, really, but it guarantees you get those deliciously chewy no bake treats every single time instead of having to sweep up oat dust later!
Essential Ingredients for Chewy No Bake Granola Bars
We need to talk about the building blocks here. Since we aren’t using the oven to bake the structure in, the ingredients we *do* use have to work overtime to stick together. If you use instant oats, oops! You’re going to end up with mush, so make sure you grab the two cups of good old-fashioned rolled oats—they have the chew we’re looking for. The measurements are specific because that’s how we make sure these nut butter granola bars firm up exactly right.
Don’t skip the salt either! It seems small, but it wakes up the flavor of the oats and the sweetness of the honey.
Nut Butter Granola Bars: Choosing Your Binder
The nut butter is the MVP of this whole operation, truly. I generally prefer creamy peanut butter or almond butter because they spread the easiest when melted, which means a more homogenous mix. Crunchy is fine, but you might notice a slight grit because the chunks don’t dissolve the same way. Now, if you have allergies in your house—and you should always plan for that!
For a great nut-free option, just swap in sunflower seed butter. It binds just as beautifully, although it might give the finished bars a slightly earthier tone. It’s amazing how flexible these nut butter granola bars are when you know their core needs.
Mix-Ins for Wholesome Snack Ideas
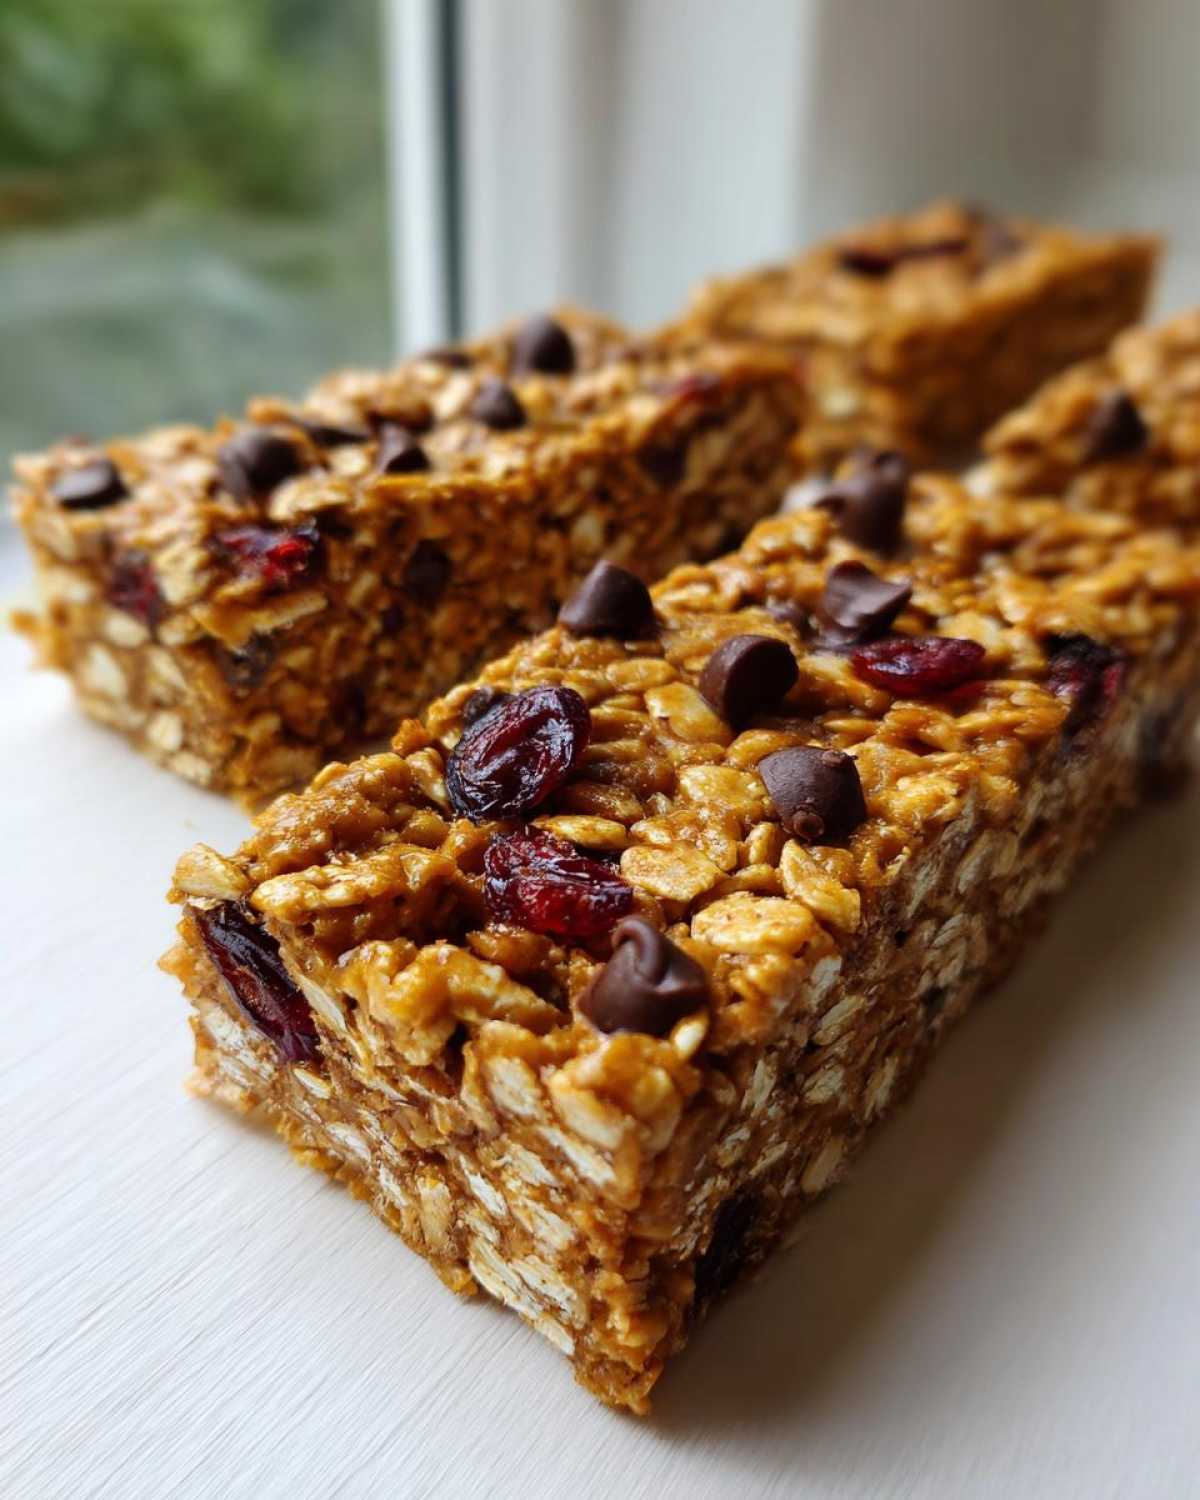
This is where you get to play around and make these your own! The recipe calls for about a half cup total of extras, and I put in dried cranberries and a small sprinkle of mini chocolate chips because I love that flavor combo. But if you’re stocking up on wholesome snack ideas, try mixing things up.
You could easily trade those in for chopped walnuts, pumpkin seeds, or even some lightly toasted, unsweetened shredded coconut. Just make sure whatever you’re adding isn’t super dense or wet, or you might compromise our perfect binding ratio!
Step-by-Step Guide to Making No Bake Granola Bars
Okay, let’s get down to business! Making these no bake granola bars is honestly so simple, but the order matters, just like in any good baking project. We need everything mixed just right before we press it, so pay close attention to the layering here. You’ll want an 8×8 pan ready since we aren’t using heat to set these things; the fridge is doing all the heavy lifting!
Preparing the Pan and Combining Dry Ingredients
First things first: line your 8×8 pan with parchment paper. This is non-negotiable, trust me! Leave a little overhang, maybe two inches on two opposite sides. When these bars are done chilling, you don’t want to struggle coaxing them out of the pan—that overhang acts as your little handles. Once the paper is in, dump your rolled oats, the flaxseed (or chia seeds!), and that pinch of salt right into the pan. Give it a quick toss with a fork just to make sure everything is cozy before the wet stuff comes in.
Melting the Binder for Perfect No Oven Required Snacks
This trick is what separates the good no oven required snacks from the terrible, crumbly ones! Get your nut butter and your honey (or maple syrup) into a microwave-safe bowl. Give that a warm blast—usually about 30 to 45 seconds is all it takes. Why warm it? Because cold nut butter rips apart your dry oats when you try to mix! Warming it makes it runny and glossy, allowing it to coat every single particle perfectly. Pour that warm, beautiful mixture right over your dry ingredients along with the vanilla. Now, stir like you mean it until you see zero dry oats hiding at the bottom. Finally, fold in your chocolate chips or dried fruit!
When you transfer this whole sticky mess into your prepared pan, step 6 is the real test: Press it down! Use a spatula or maybe even the bottom of a clean drinking glass, and compact this until you think you can’t press any harder. We want rock-solid bars, not loose clumps!
Tips for Success with Your Homemade Granola Bars
Even though these are wonderfully simple homemade granola bars, sometimes things don’t go exactly to plan right out of the gate. Don’t panic! Since we aren’t using the oven, we can adjust these no bake granola bars mixture while they are still soft. I’ve learned a few tricks over the years to save a batch that’s either too sticky or just won’t quite stick together.
When you follow the recipe exactly, you usually get perfection, but life happens, right? Sometimes my honey is thicker than usual, or maybe I was a little too generous with the dried fruit. Knowing how to fix it means no wasted ingredients!
Troubleshooting Common Issues with No Bake Granola Bars
The biggest stress point for people making these easy no bake snacks is definitely the texture right before it hits the pan. If you’re stirring everything together and it feels too dry, like it’s just dusty oats that won’t clump when you squeeze a handful, you need more binder.
Here’s your fix! Grab an extra tablespoon of that melted nut butter/sweetener mix and stir it in slowly. Keep adding just a tiny bit (half a tablespoon at a time) until you can squeeze a clump in your hand and it stays put. It shouldn’t be dripping, but it must hold its shape.
Now, what if you poured in too much binder? Maybe your measuring cup was a little too enthusiastic! If your mix is soupy and you can’t see dry oats anymore, don’t worry—we just need some dry structure back. I always keep a small bowl of extra rolled oats handy. Stir in another quarter cup of dry oats until the mixture thickens up enough to press firmly into the pan. Pressing hard is your best friend here; the harder you compact those oat energy bars, the better they hold!
Variations for Your Oat Energy Bars
Once you master the base recipe for these oat energy bars, I encourage you to start playing! Because we aren’t using heat, the flavor combinations stay really bright, and it’s so easy to switch things up for a new experience next week. It’s fun to keep a batch on hand that fits whatever mood you’re in—sometimes you want chocolate, and sometimes you want something bright and fruity.
My favorite thing to do is treat it like dough for cookies, but without the wait! You can swap out the mix-ins completely, or you can actually change the flavor profile of the binder itself. It opens up so many possibilities for quick snack recipes!
Here are a few quick flavor swaps that I think you’ll absolutely adore:
- Spiced Chai: Add 1 teaspoon of cinnamon and a generous pinch of cardamom and ground cloves to your dry ingredients. It warms up the whole bar perfectly!
- Tropical Twist: Swap the cranberries for dried mango chunks and use macadamia nuts if you use almond butter. Seriously dreamy.
- Instead of chocolate chips, try using butterscotch morsels for a richer, almost caramel-like flavor profile, especially great when paired with peanut butter for your no bake granola bars.
- Try swapping the ground flaxseed for protein powder! You’ll need to add a teaspoon or two of extra liquid (like milk or maybe a drop of water) if you do this, as protein powder really sucks up moisture.
Remember, consistency is king here, so if you add a lot of wet fruit, you might need to slightly boost your oats next time to keep that perfect chew!
Storage and Make Ahead Snacks Instructions
Okay, this is my absolute favorite part about making these make ahead snacks! Since these are no bake, they are already perfectly suited for storage, and honestly, they taste even better on day two when everything has really had a chance to meld together in the fridge. You worked hard mixing that sticky binder, so you want to make sure these no bake granola bars stay fresh!
Because we skipped the oven, the main goal in storage is keeping them firm and preventing the oats from getting stale or soft from fridge moisture. I always cut them into bars right after they’ve chilled completely, but before I store them long-term.
Keeping Them Fresh in the Fridge
For snacks you plan to eat within the first week, the refrigerator is your best friend. Place your cut bars into an airtight container. I like to put a small square of parchment paper between the layers, just so they don’t all weld back together into one giant brick overnight. They should stay perfectly chewy and delicious for about a week! This is perfect for my mid-week grab-and-go needs.
Leveraging the Freezer for Long-Term Meal Prep
If you’re making a huge batch for serious meal prep, you absolutely need to use the freezer! These truly shine as freezer snack recipes. Again, cut them into individual bars first. Wrap each one individually in plastic wrap or small pieces of foil. This prevents freezer burn and makes it super easy to grab just one bar when you need it.
They keep beautifully frozen for up to three months. When you want one, just pull it out of the freezer and let it sit on the counter while you grab your coffee—it thaws incredibly fast, usually within 15 to 20 minutes, and tastes almost freshly made! It’s my secret weapon for keeping my snack drawer stocked.
Serving Suggestions for Healthy Grab and Go Bars
So you’ve got your perfectly chewy, easy healthy grab and go bars all cut and ready to rock—that’s half the battle won! But how should you eat them? While they are truly fantastic all on their own, sometimes I like to pair them with something else to turn them from just a snack into a more complete mini-meal, especially if I’m grabbing one for a quick breakfast when I’m rushing out the door.
The beauty of these no bake granola bars is that they are sturdy enough to handle being dipped or even slightly warmed up, if you dare to turn on the microwave for five seconds! They are designed to be versatile, which is what makes them such a great staple for meal prep.
Here are a few ways I like to serve them up when I’m keeping my nutrition goals in mind:
- With Creamy Yogurt: If I’m eating this as a breakfast on the run, crumbling half a bar over a small container of Greek yogurt adds phenomenal texture contrast. The crunchy oats and chewy bind work so well against the smooth dairy!
- Alongside Fruit: Pairing these quick snack recipes with fiber-rich fruit like an apple or some berries makes for a more balanced intake. It slows down the eating process a bit, too, which is always helpful!
- The Perfect Coffee Companion: Seriously, these bars were made for mornings when you need just a little something sweet to cut the bitterness of your coffee. Think of it like having a built-in, healthy biscotti! Grab your favorite mug, eat one of these no bake granola bars, and you’re ready to tackle the day.
Honestly, sometimes I don’t do anything fancy at all. I just pull one out of the fridge right when that 3 PM slump hits, and the combination of healthy fats from the nut butter and the complex carbs from the oats gives me the perfect little boost to avoid reaching for something sugary. They really are the definition of a satisfying, convenient treat!
Frequently Asked Questions About No Bake Granola Bars
I get asked these questions all the time because everyone wants their no bake granola bars to come out perfectly! Since these recipes rely on simple binding agents instead of the oven, a few tweaks can throw things off if you aren’t careful. Here are the main things folks ask me about when making these easy no bake snacks.
It’s all about getting that perfect, satisfying chew without any of the mess, and these tips should cover you for making bulk batches of meal prep granola bars!
Can I make these no bake granola bars vegan?
Absolutely, you totally can! The only non-vegan ingredient in the base recipe is the honey, since it’s an animal product. I’ve tested this extensively with maple syrup, and it works just as well as a binder for these nut butter granola bars. Maple syrup is wonderful because it brings its own deep, earthy flavor that pairs so nicely with the oats.
Just make sure whatever sweetener you choose is pure, and you’re set! Now, if you are adding chocolate chips, you’ll need to swap in vegan chocolate chips, too, because standard chips often contain milk solids.
What is the best way to ensure these turn out firm?
Firmness comes down to two things: the binder ratio and pressure! First, make sure your binder (nut butter and sweetener) is properly warmed and coats everything evenly, as discussed in the main guide. If it’s too dry, it won’t stick.
But the real secret to rock-solid healthy grab and go bars? Pressing! When you transfer the mixture to the pan, use the back of a sturdy spatula or a flat measuring cup and press down with real force. You want to physically compact the mixture together so that there are zero air pockets left. Then, let them chill for the full two hours. Don’t rush that chilling time, or they turn into floppy oat puddles!
Estimated Nutritional Data for These No Bake Snacks
Okay, friends, let’s talk numbers for a second. When you’re making these no bake granola bars specifically for meal prep, you want to know what you’re fueling your body with, right? I ran the numbers for a standard bar made with peanut butter and an equal mix of cranberries and chocolate chips, but remember, this is just an estimate!
Since we aren’t using the oven, we are keeping all the great benefits of the raw oats and seeds, but the final nutritional count will shift depending on whether you add fancy nuts or go heavy on the sweetener. I always say that if you’re making easy no bake snacks, nutrition tracking should be flexible!
Based on 12 bars, here’s the ballpark for one of these delicious oat energy bars:
- Calories: Approximately 220
- Fat: About 12g (That’s the healthy fat from the nut butter doing the heavy lifting!)
- Carbohydrates: Roughly 26g
- Sugar: Around 10g (Mostly natural sugars from the honey/syrup and dried fruit)
- Protein: A solid 7g to keep you full!
Just a quick heads-up: If you swap out peanut butter for almond butter, or if you decide to use just dried fruit instead of chocolate chips, these numbers will change a bit. This estimate is designed to give you a solid baseline for these wonderful make ahead snacks!
PrintUltimate Chewy No Bake Granola Bars: 15-Minute Prep for Healthy Meal Prep
Make these simple, chewy granola bars without turning on your oven. This recipe uses nut butter and sweetener to bind oats and mix-ins for a quick, healthy snack perfect for meal prepping.
- Prep Time: 15 min
- Cook Time: 0 min
- Total Time: 2 hr 15 min
- Yield: 12 bars
- Category: Snack
- Method: No Bake
- Cuisine: American
- Diet: Vegetarian
Ingredients
- 2 cups rolled oats (old-fashioned)
- 1 cup creamy nut butter (peanut or almond)
- 1/2 cup honey or maple syrup
- 1/4 cup ground flaxseed or chia seeds
- 1 teaspoon vanilla extract
- 1/2 teaspoon salt
- 1/2 cup mix-ins (e.g., dried cranberries, mini chocolate chips, chopped nuts)
Instructions
- Line an 8×8 inch baking pan with parchment paper, leaving an overhang on two sides for easy removal.
- In a large bowl, combine the rolled oats, ground flaxseed or chia seeds, and salt.
- In a separate microwave-safe bowl, combine the nut butter and honey or maple syrup. Microwave for 30 to 45 seconds until the mixture is warm and easily stirrable.
- Pour the warm nut butter mixture and vanilla extract over the dry ingredients. Stir well until everything is evenly coated.
- Fold in your chosen mix-ins.
- Transfer the mixture to the prepared pan. Press the mixture down firmly and evenly using the back of a spatula or another piece of parchment paper. Compacting it tightly is key for chewy bars.
- Refrigerate the bars for at least 2 hours, or until completely firm.
- Use the parchment overhang to lift the slab out of the pan. Cut into 12 or 16 bars.
- Store cut bars in an airtight container in the refrigerator or freezer.
Notes
- For a gluten-free option, use certified gluten-free rolled oats.
- Substitute sunflower seed butter for nut butter to make this nut-free.
- If the mixture seems too dry, add 1 tablespoon more honey or nut butter until it holds together when squeezed.
- These bars freeze well for up to 3 months.
Nutrition
- Serving Size: 1 bar
- Calories: 220
- Sugar: 10
- Sodium: 120
- Fat: 12
- Saturated Fat: 2
- Unsaturated Fat: 10
- Trans Fat: 0
- Carbohydrates: 26
- Fiber: 3
- Protein: 7
- Cholesterol: 0
